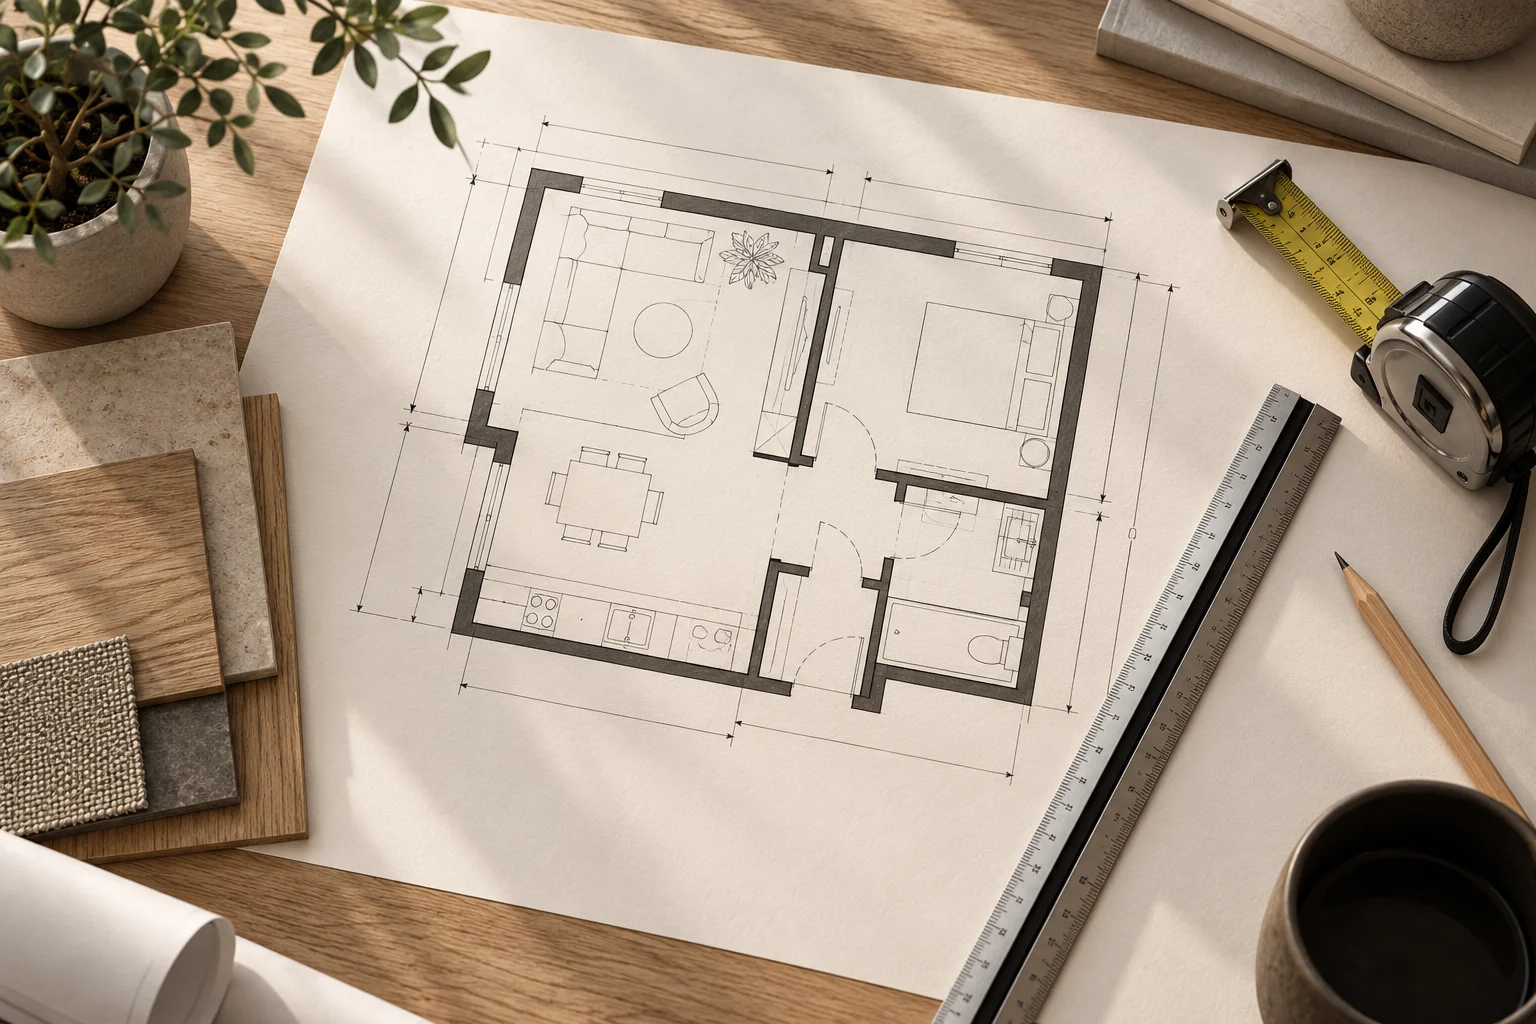
Floor plans with missing dimensions: what to send
Prepare a useful floor plan when measurements are incomplete. Learn what to label, which photographs help and how to separate assumptions from confirmed dimensions.
Read article →Practical guides to floor plans, architectural rendering and interior visualization, for homeowners and professional teams.

Prepare a useful floor plan when measurements are incomplete. Learn what to label, which photographs help and how to separate assumptions from confirmed dimensions.
Read article →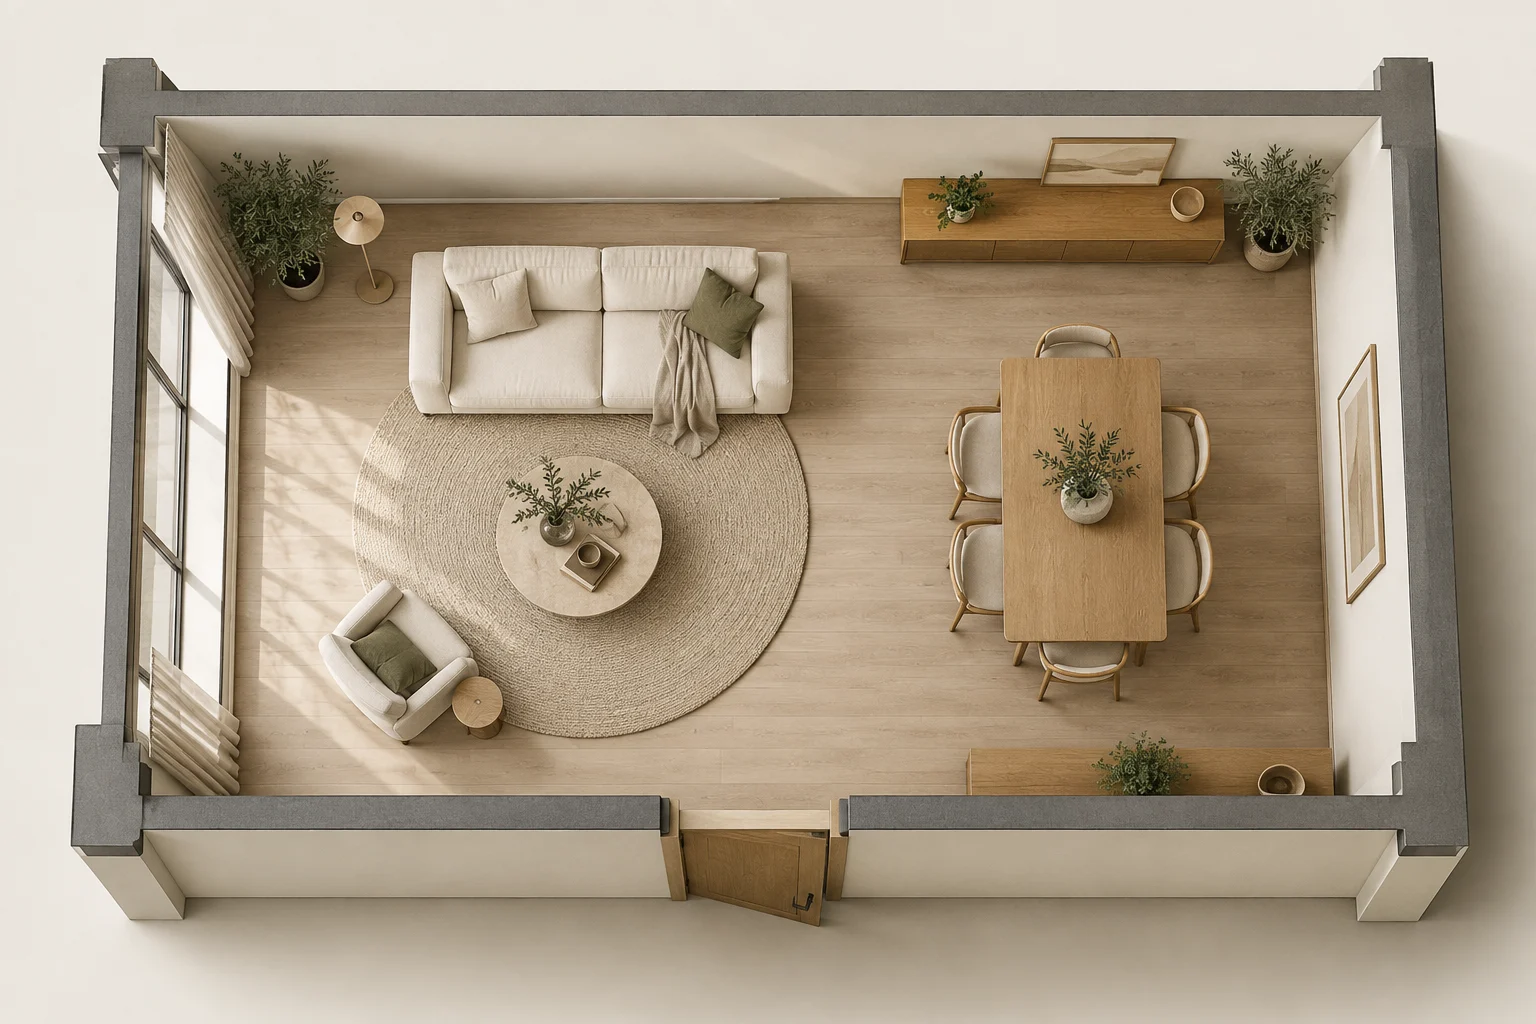
Use a furniture plan to compare room layouts, door movements and everyday routes before developing detailed interior renderings.
Read article →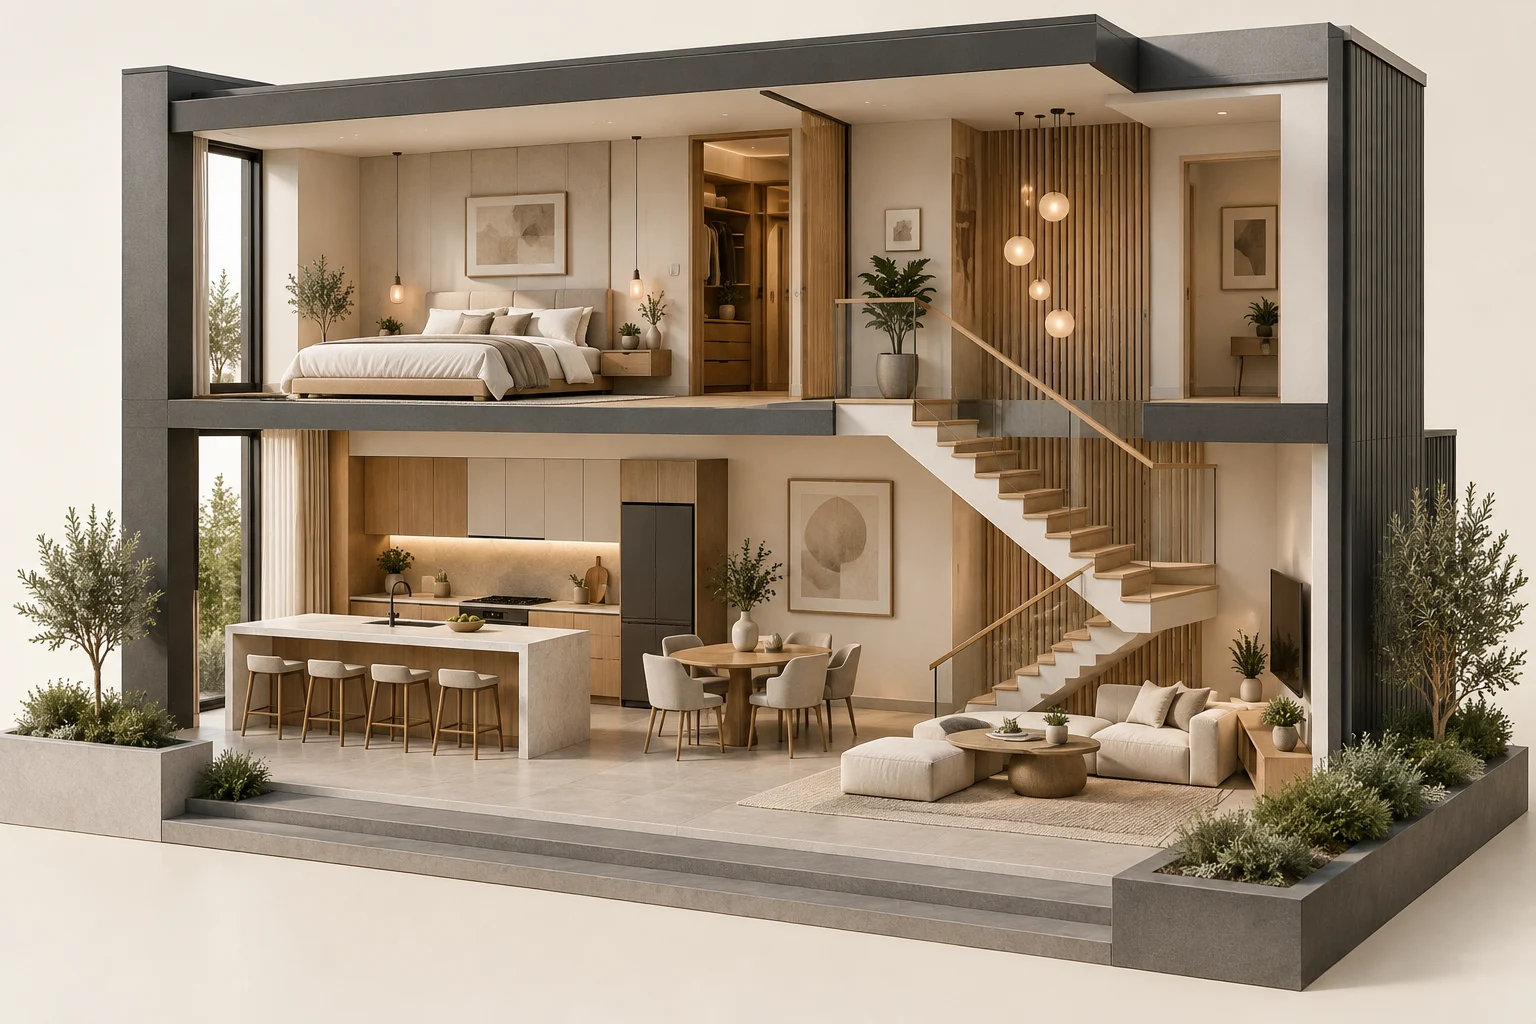
Make multi-level home presentations clearer with consistent floor labels, aligned plans and views that explain stairs and connections between levels.
Read article →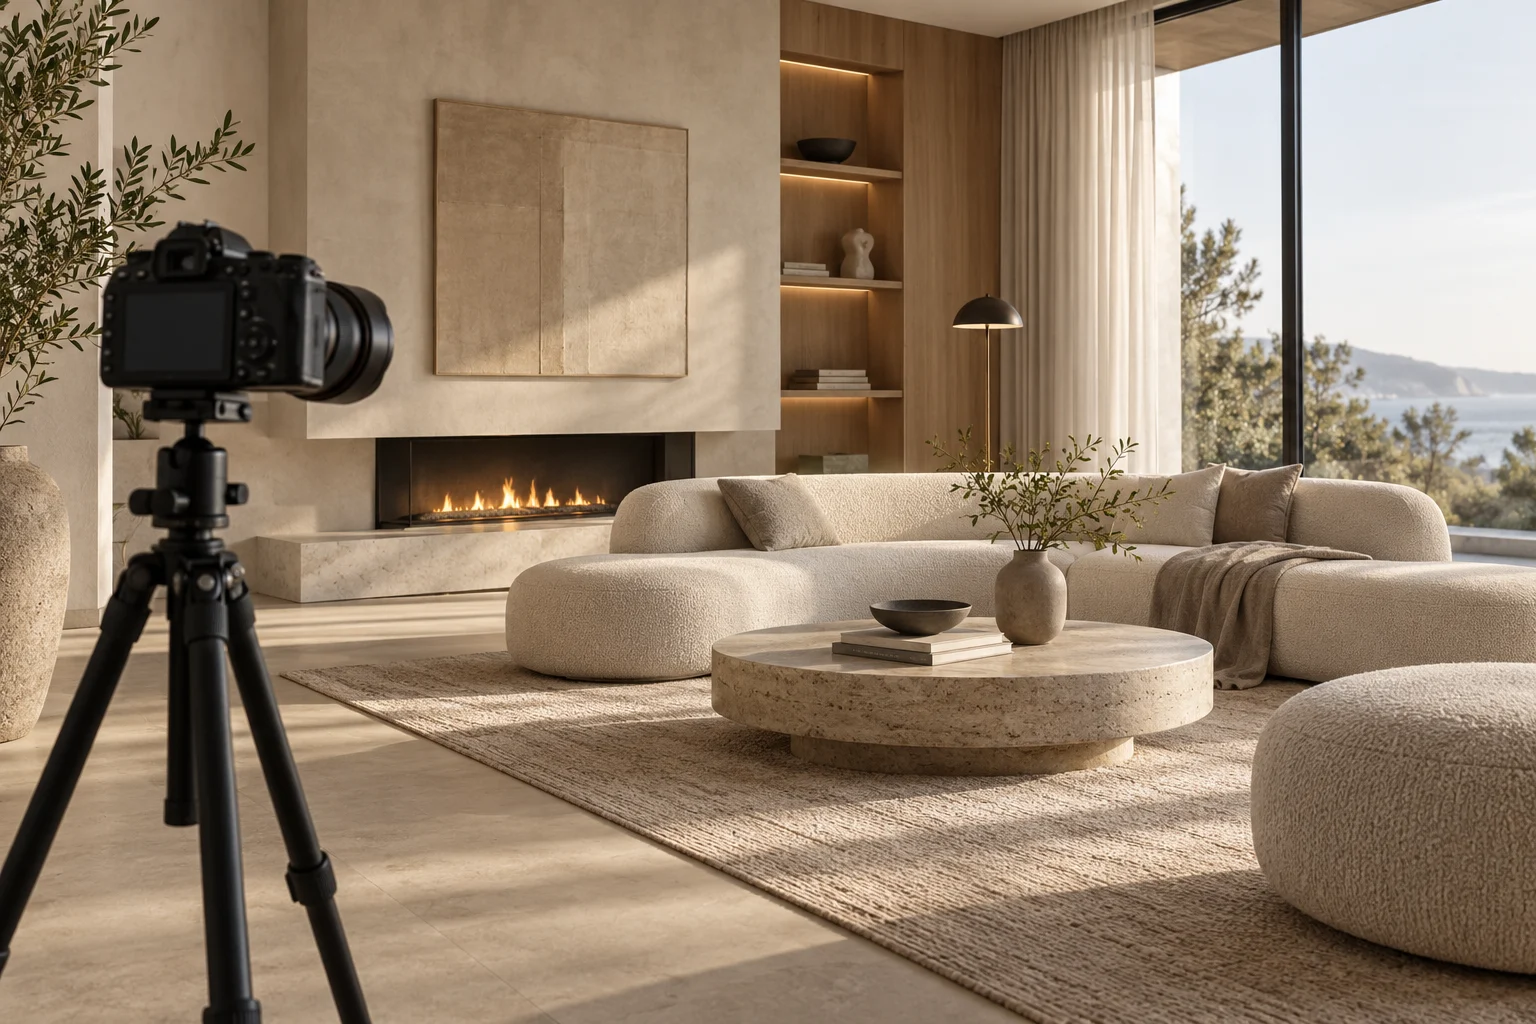
Choose interior rendering viewpoints that explain layout, important finishes and room connections without relying on exaggerated wide-angle views.
Read article →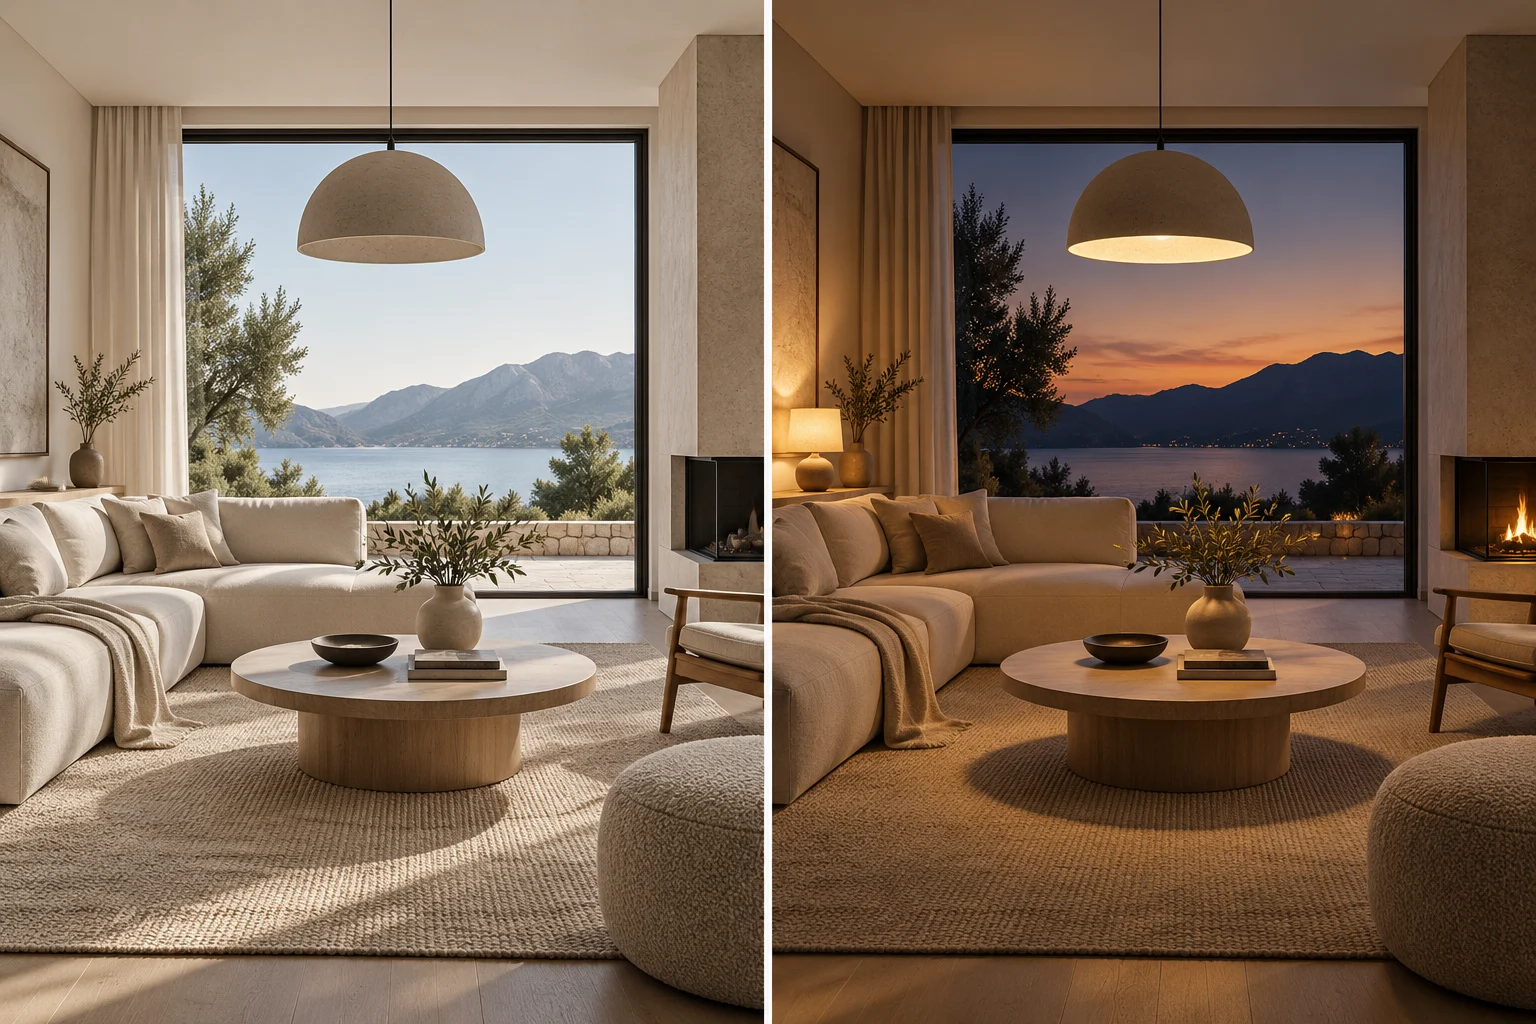
Choose daylight and evening interior renders according to the question you want to answer, and keep assumptions about lighting explicit.
Read article →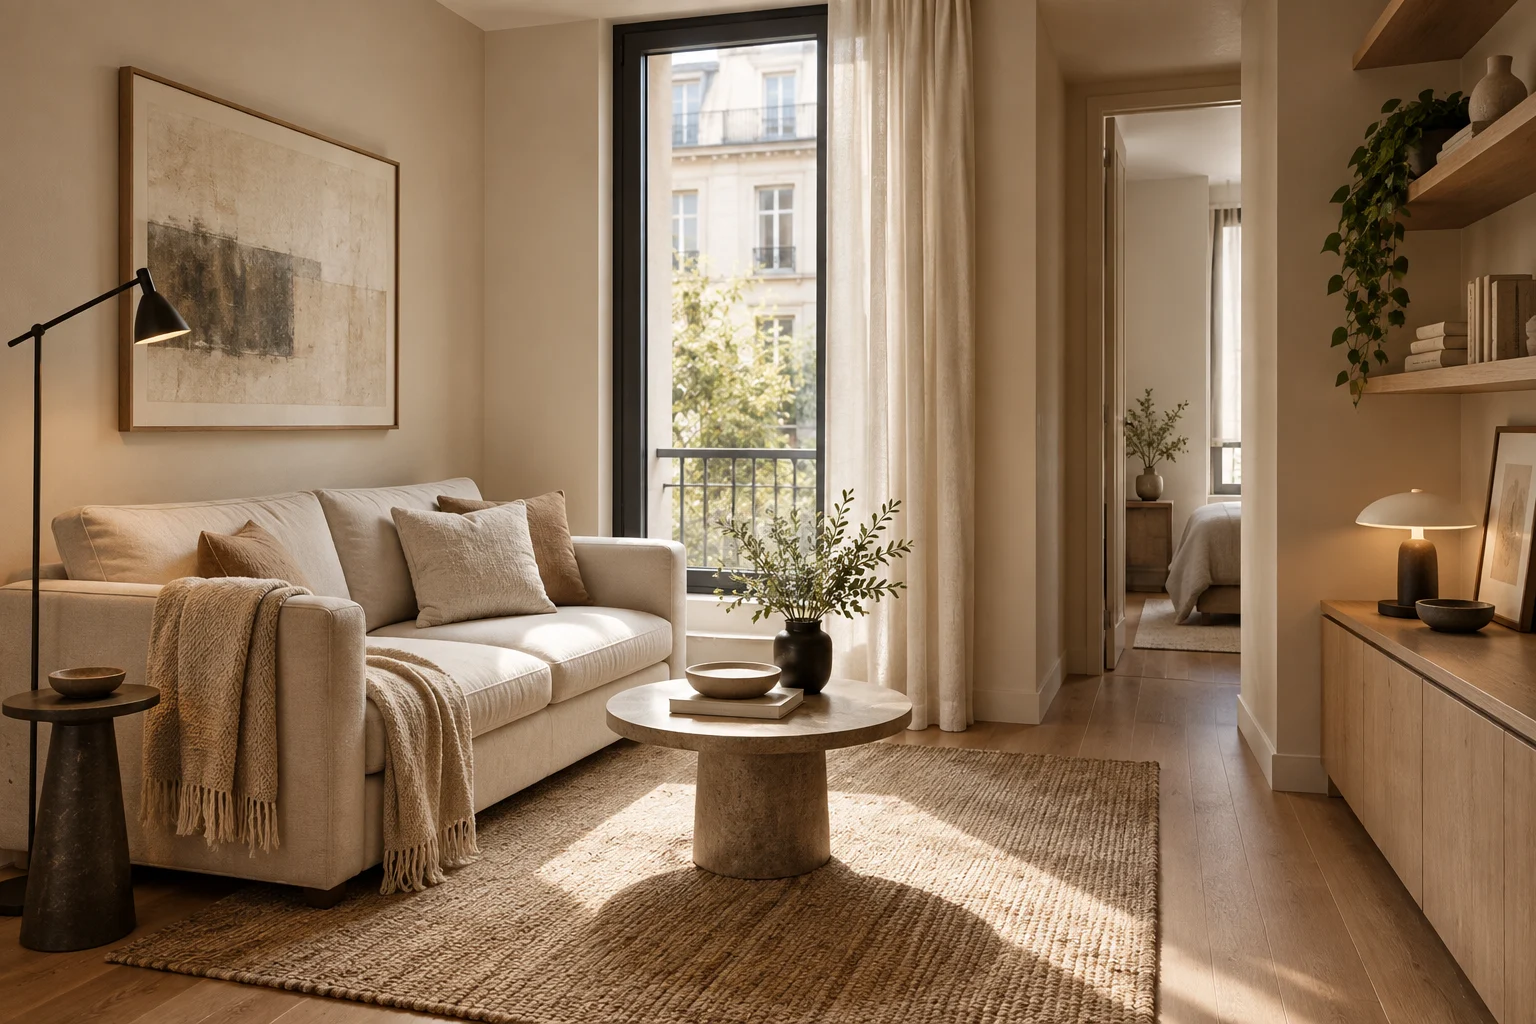
Compare compact living room options using real furniture sizes, honest camera views and a clear distinction between storage and decorative styling.
Read article →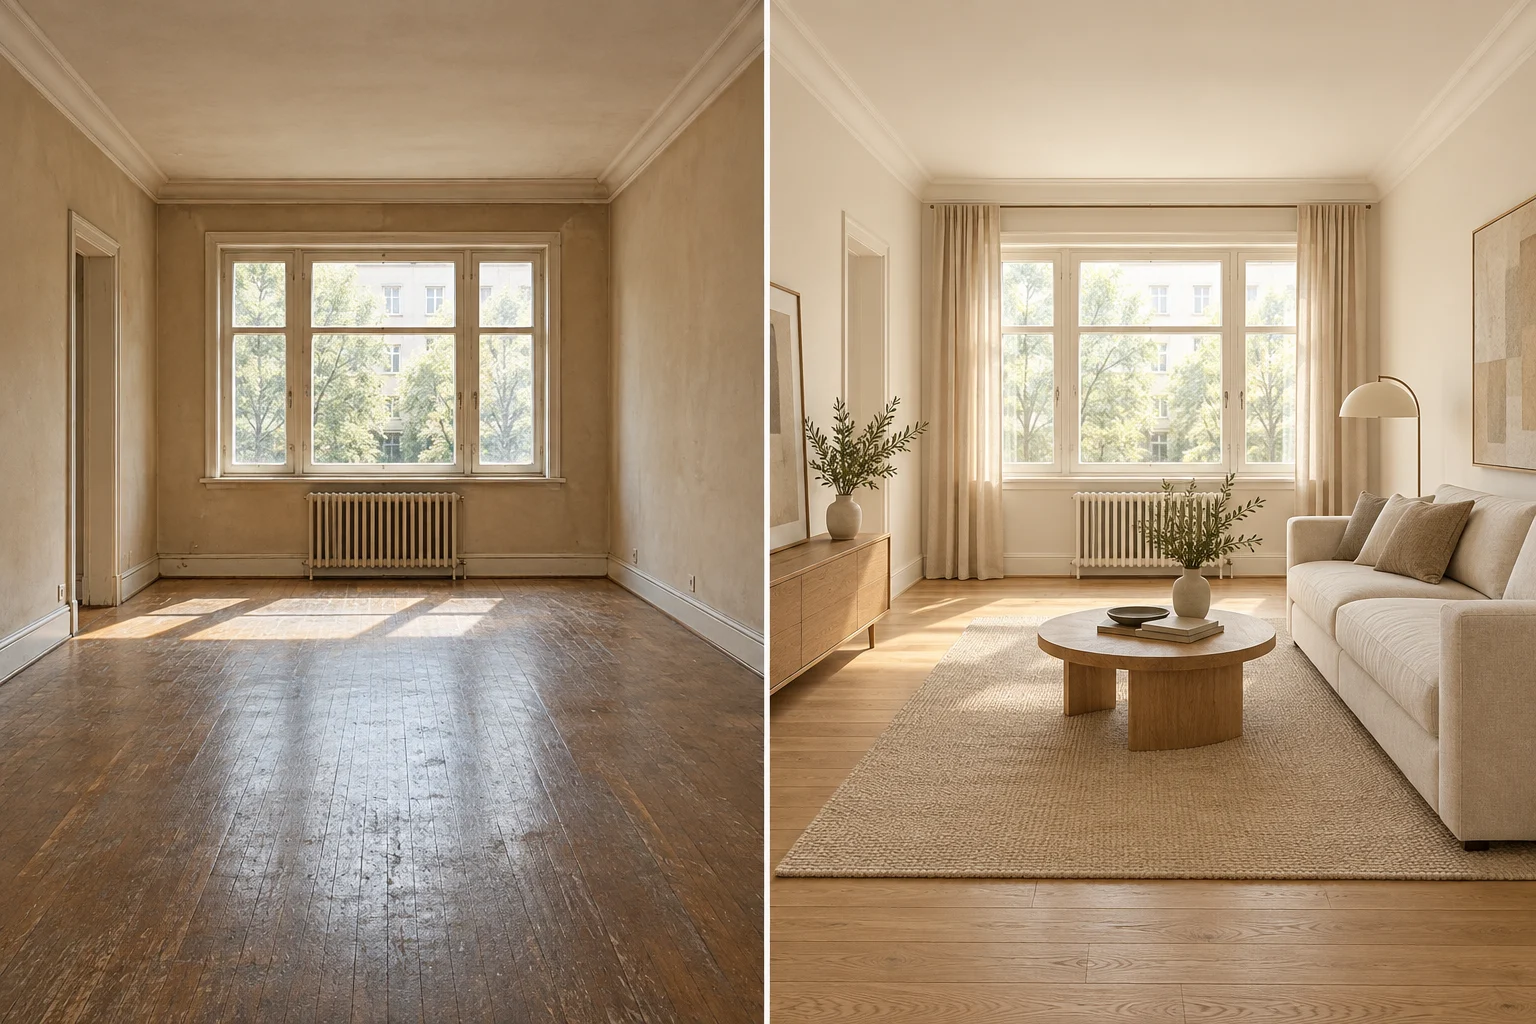
Create readable renovation comparisons with matched viewpoints, labelled proposed changes and a clear distinction between photographs and visualization.
Read article →
Include existing furniture in a renovation brief with measurements, photographs and clear priorities for what stays, moves or changes.
Read article →
Turn a collection of inspiration images into a useful visualization brief by labelling what you like and separating mood from specific products.
Read article →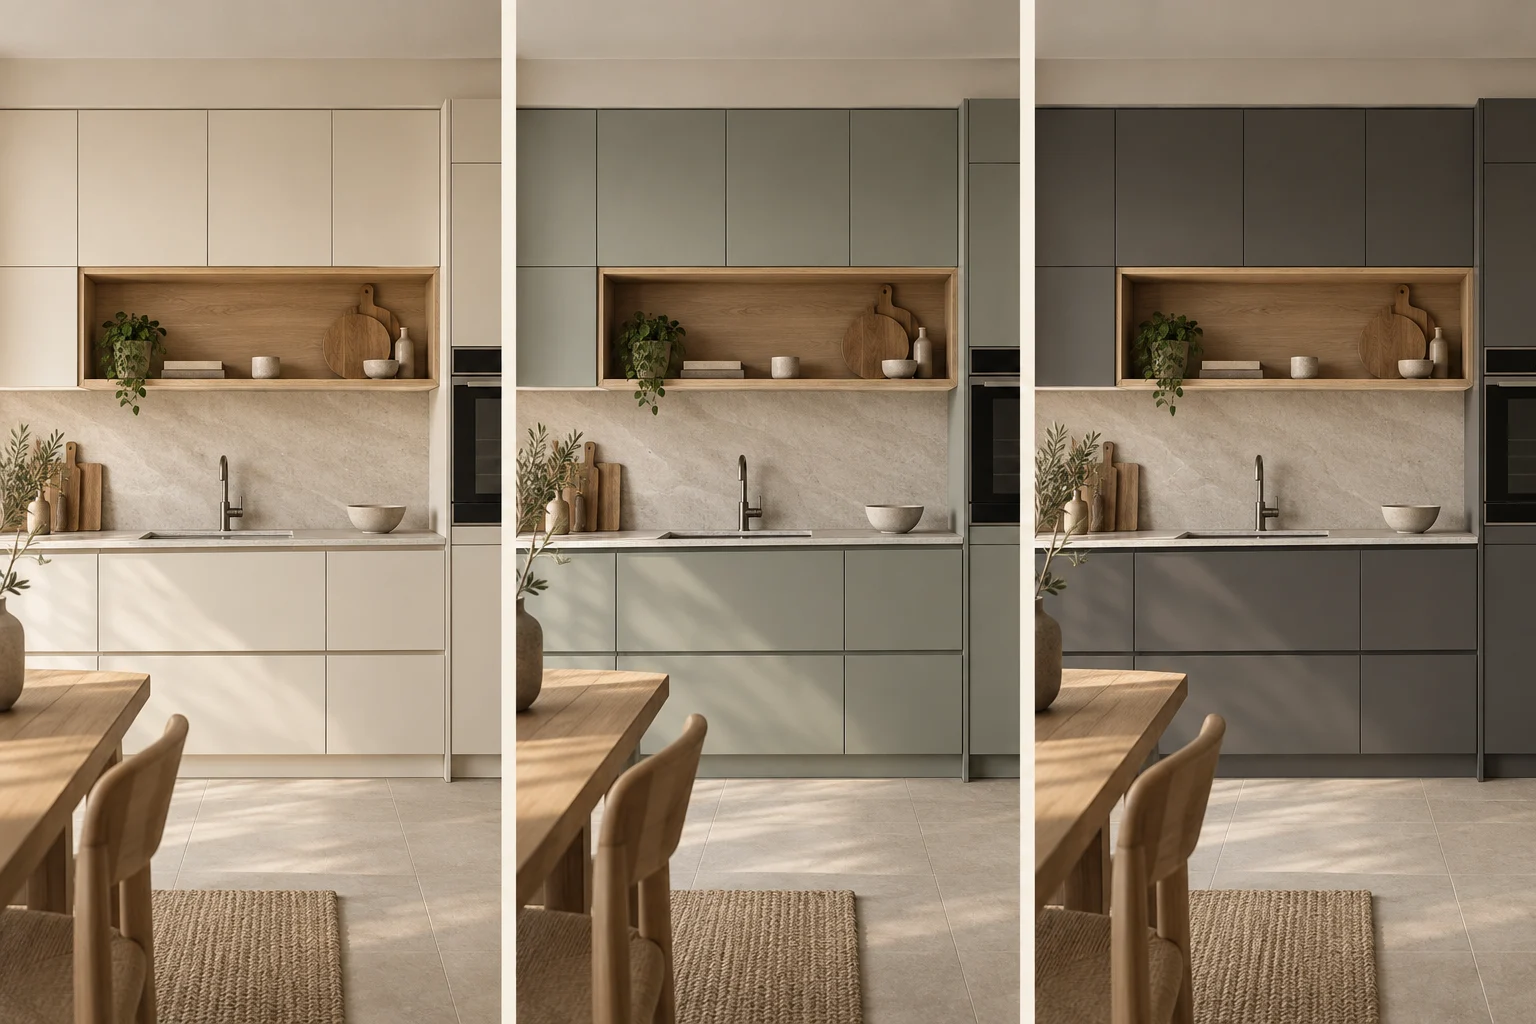
Evaluate alternative interior palettes with consistent lighting, camera position and furniture, then confirm the choice using physical samples.
Read article →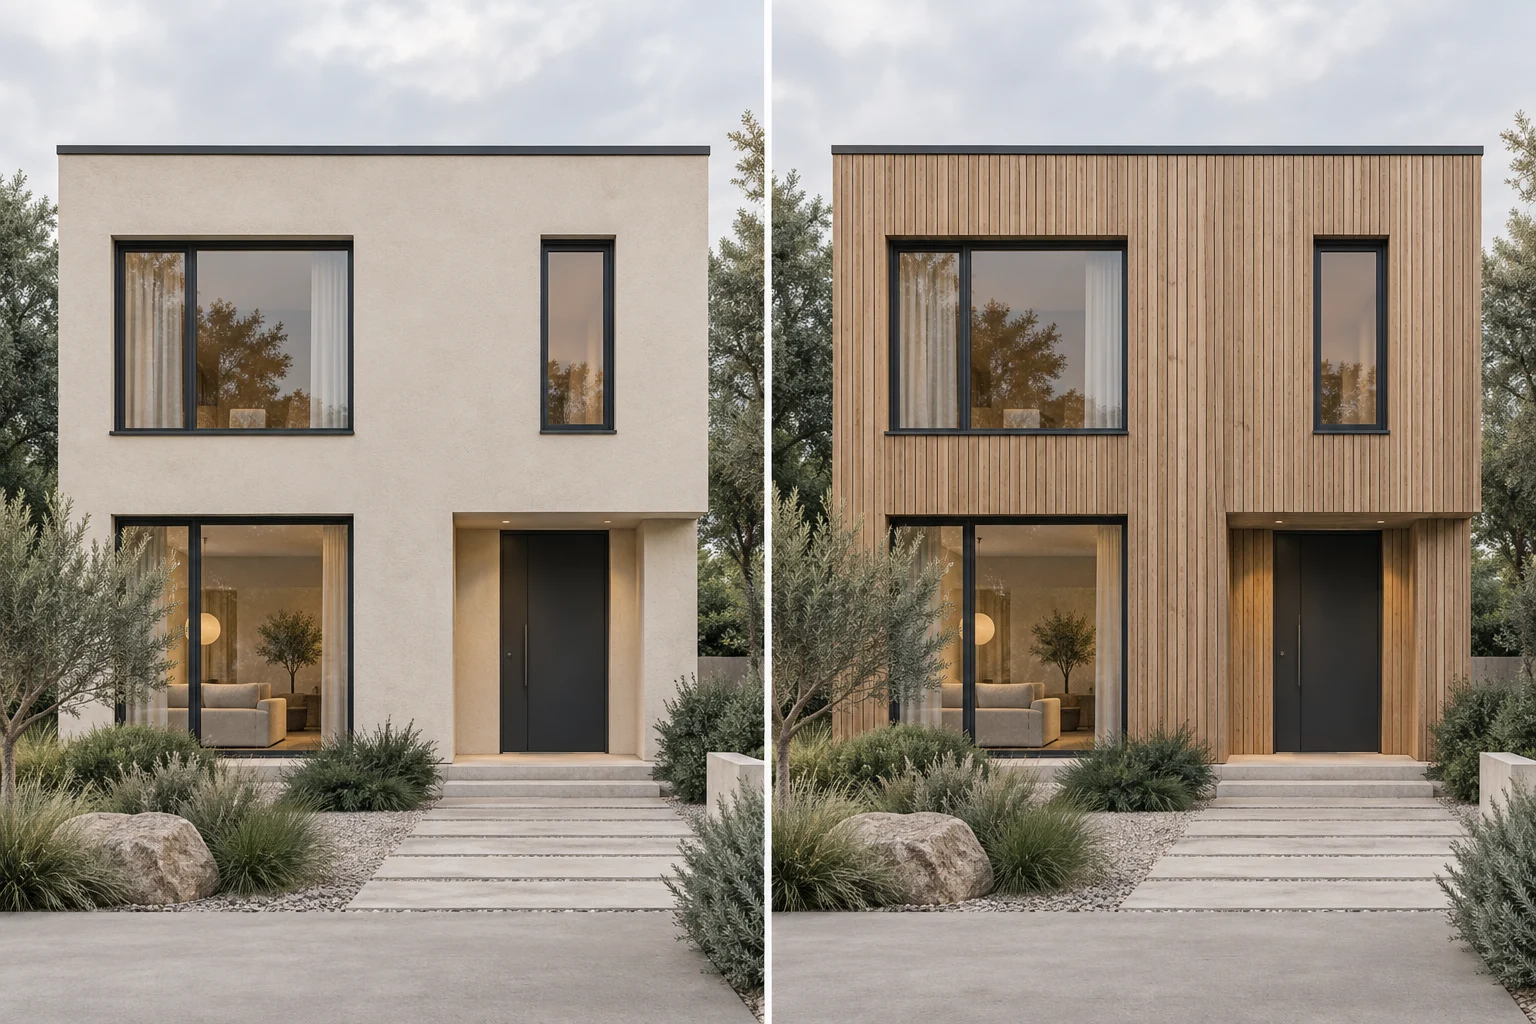
Evaluate façade finishes with the same geometry, camera and lighting, then use product information to confirm the selected specification.
Read article →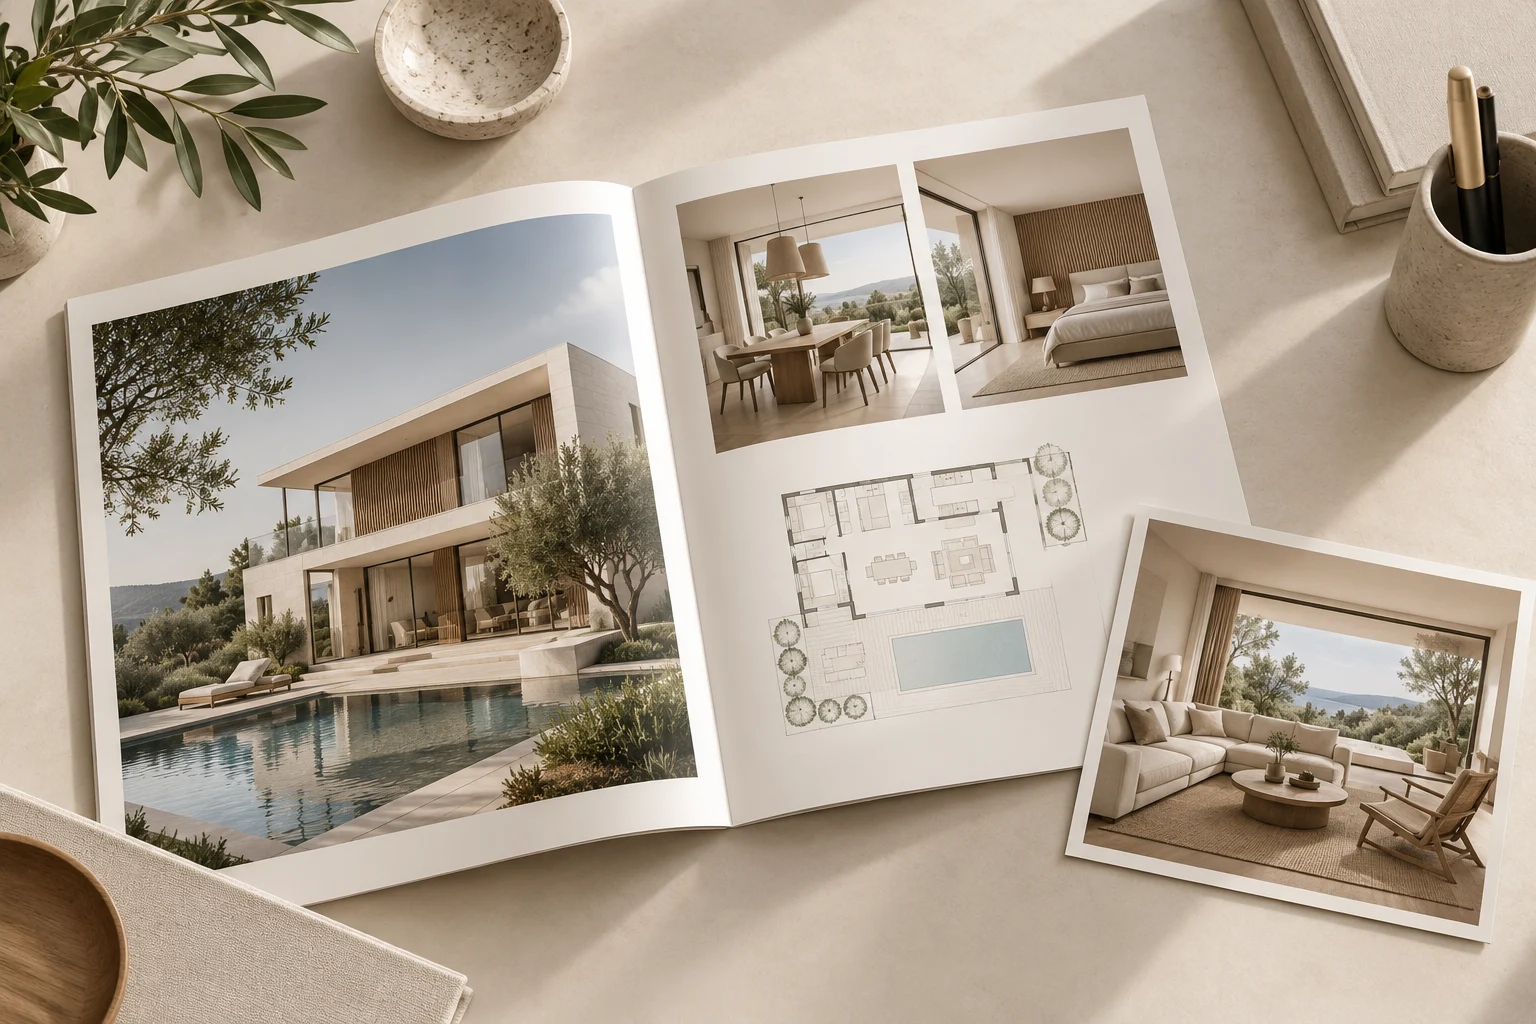
Plan a property presentation with complementary floor plans and renders, clear labels and consistent features across every image.
Read article →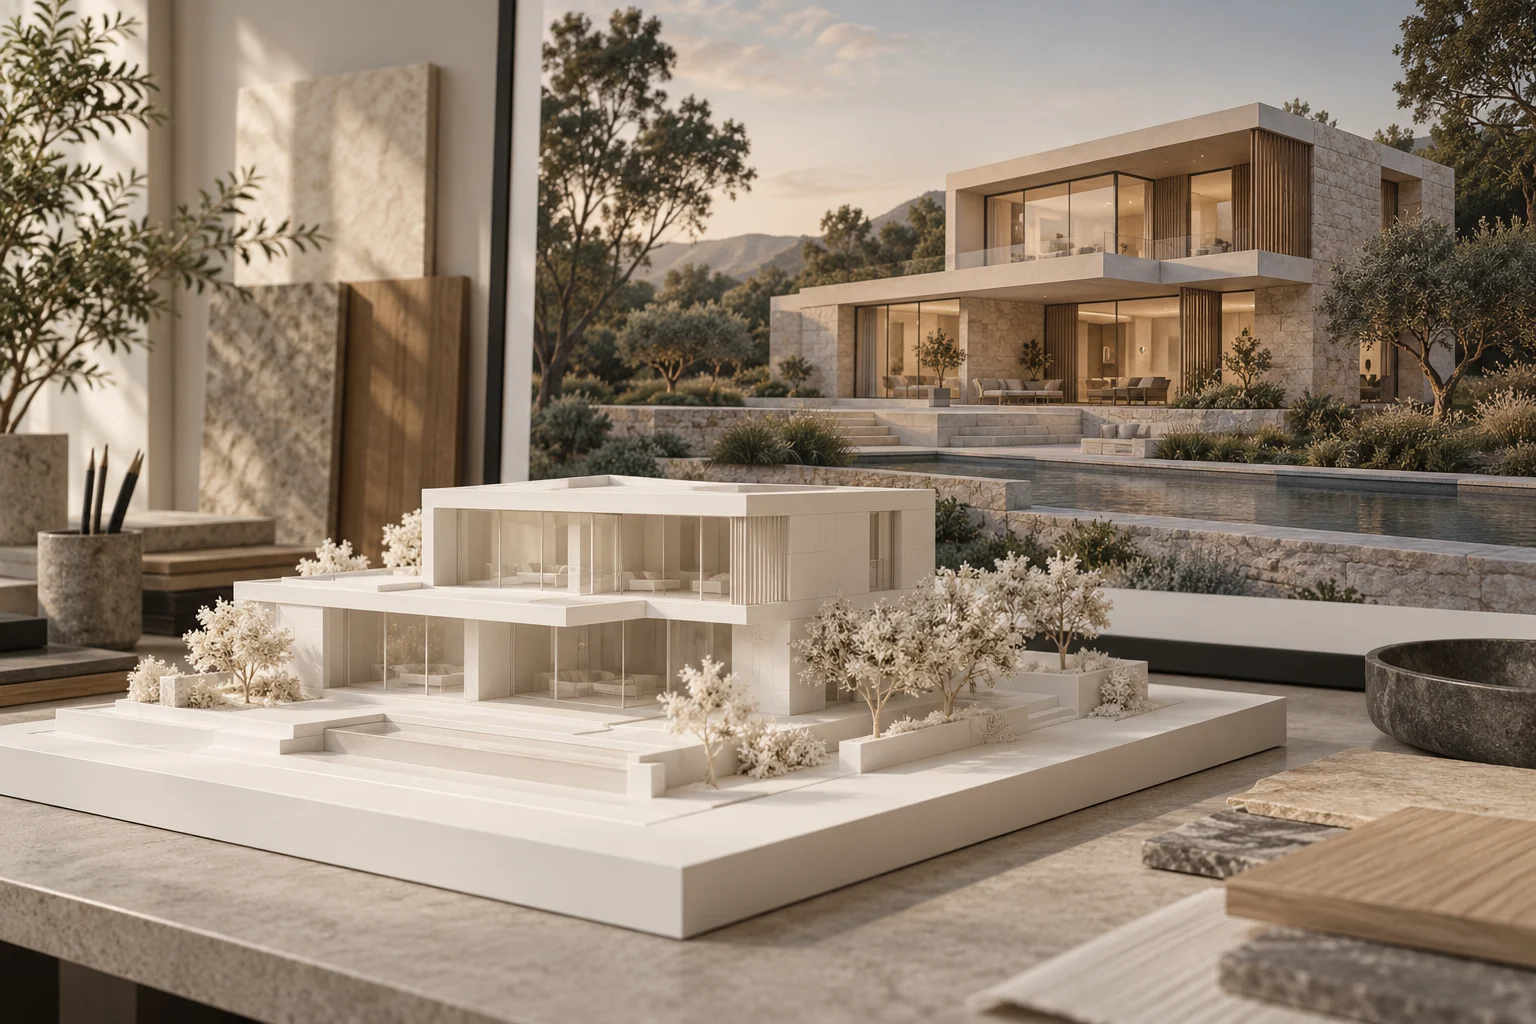
Label proposed property visuals clearly and distinguish agreed design, optional furniture and illustrative surroundings before publication.
Read article →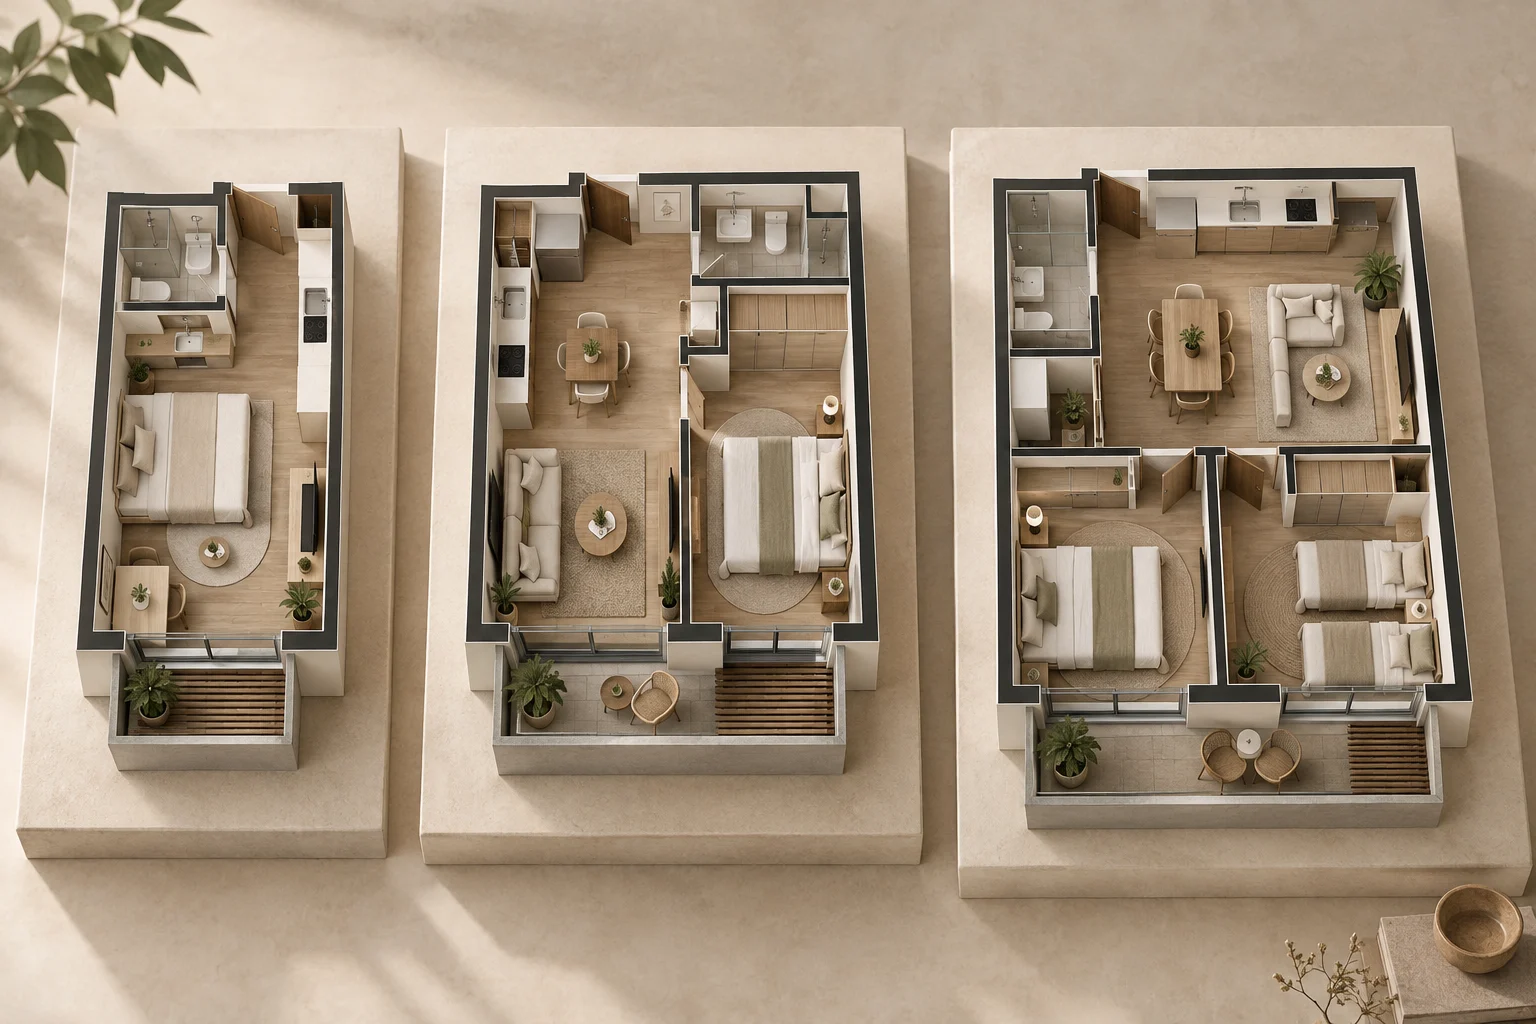
Organize unit types, finish variants and image naming so a property development can be presented without mixing layouts or specifications.
Read article →
Give a furniture rendering brief with product dimensions, finish variants, required details and a clear choice between studio and room settings.
Read article →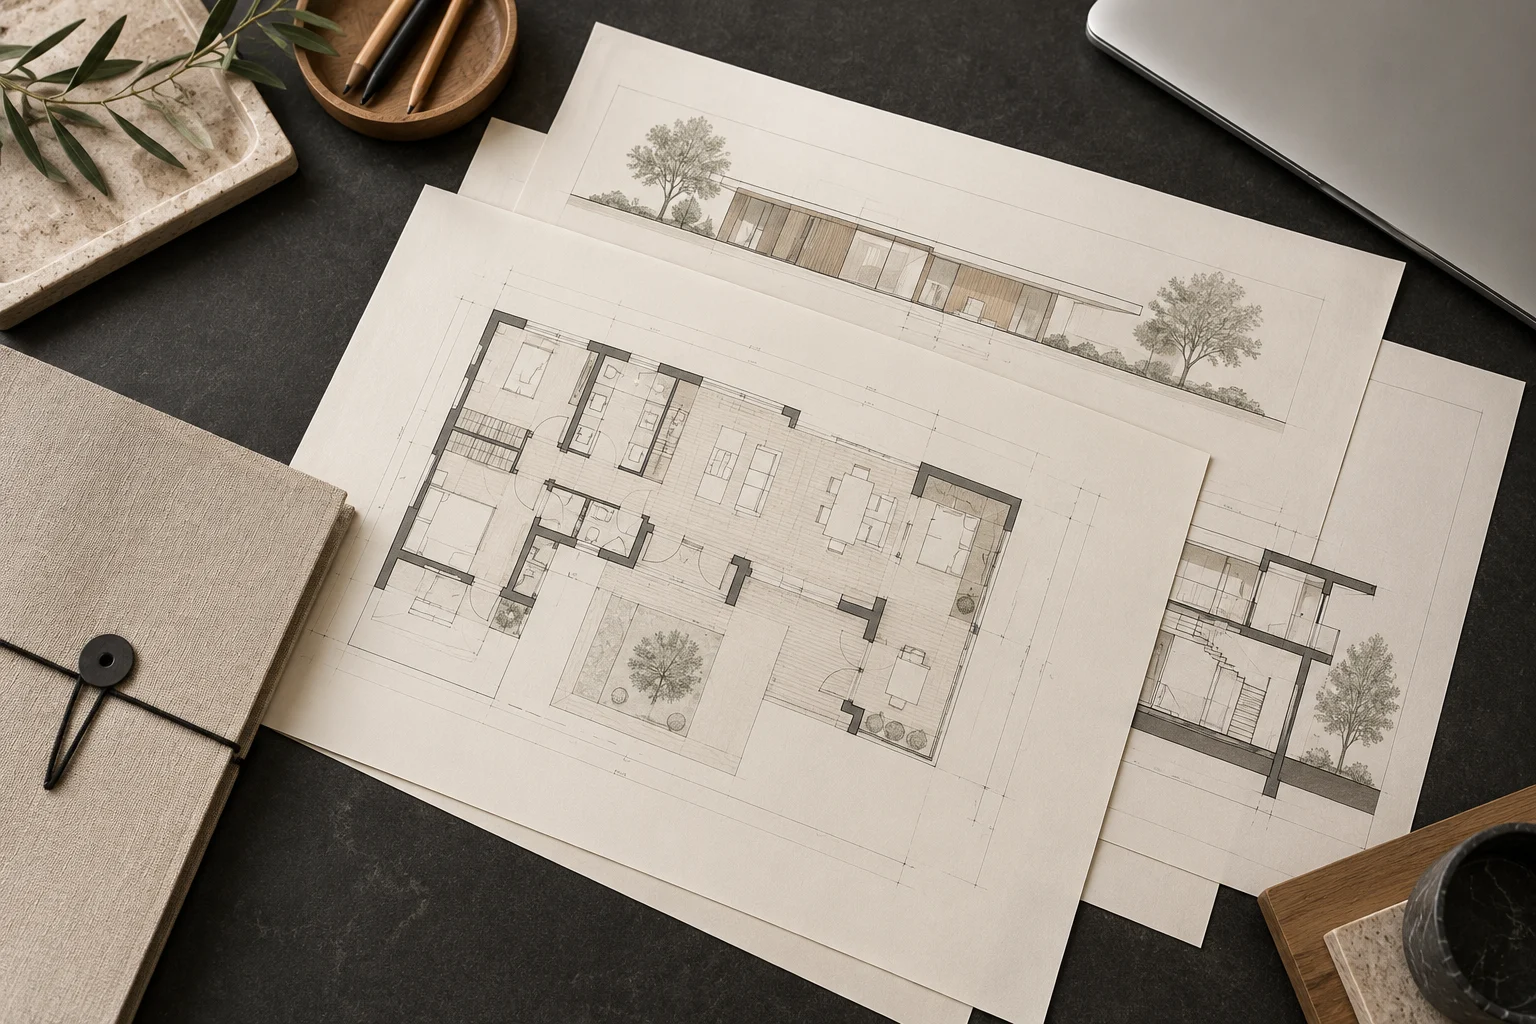
Prepare a coordinated file handoff with a clear issue date, source priorities, material references and responsibilities for unresolved design decisions.
Read article →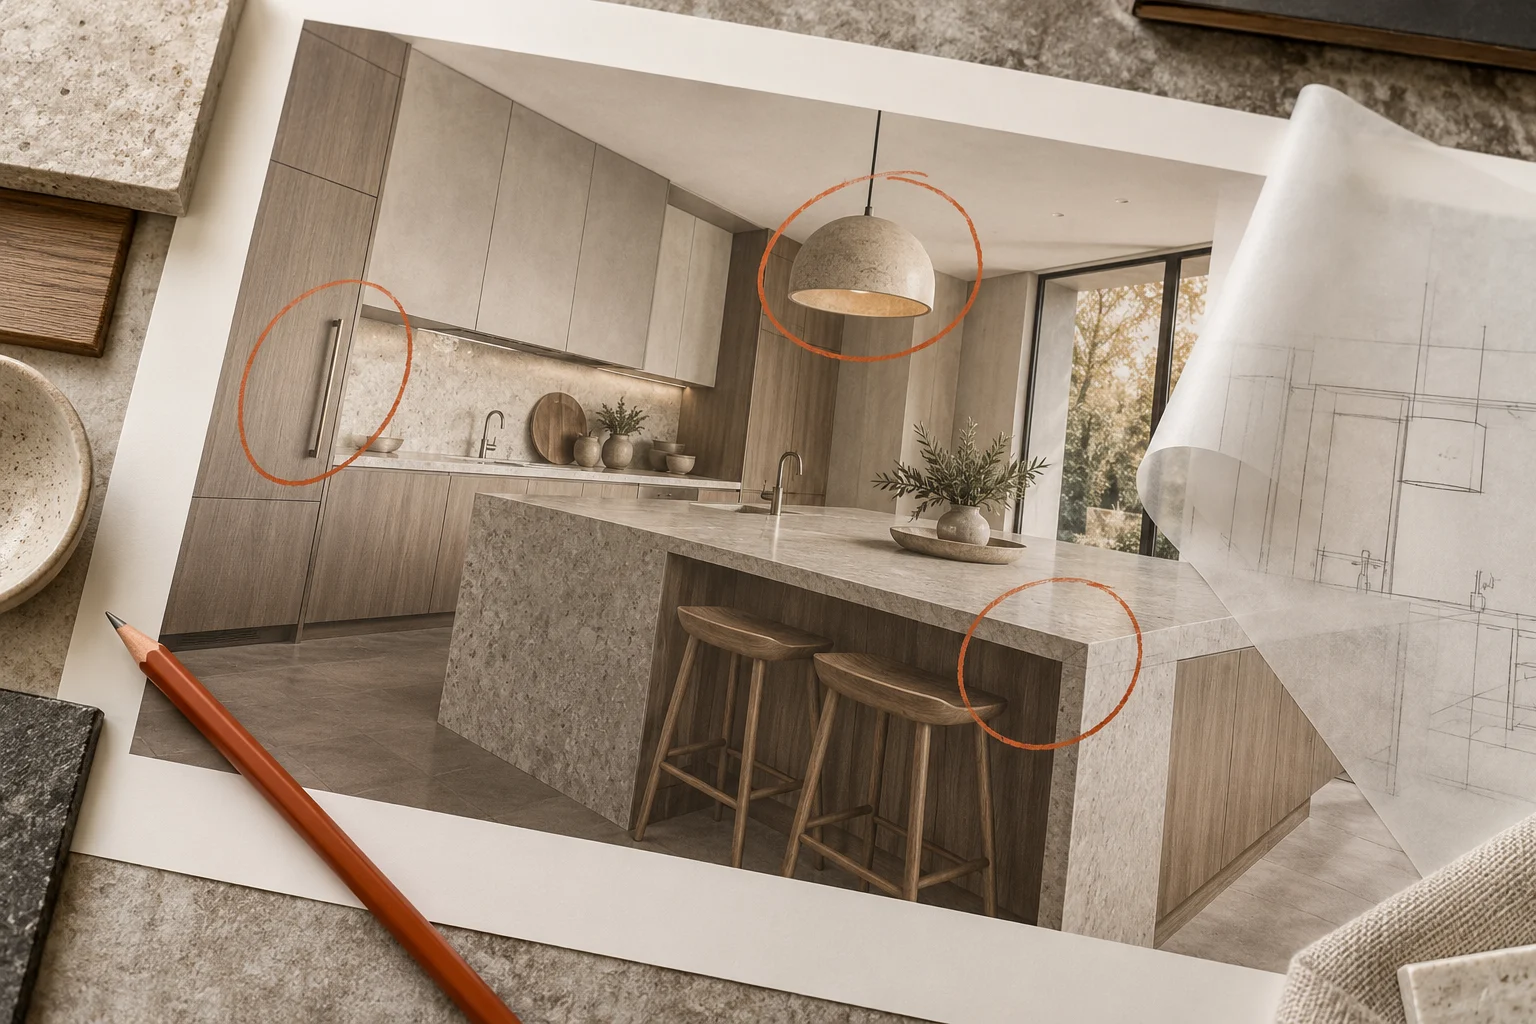
Make rendering revisions clearer with numbered annotations, one consolidated response and a distinction between corrections and new design requests.
Read article →
Specify image dimensions, crops and delivery formats before production, with separate requirements for websites, presentations and printed material.
Read article →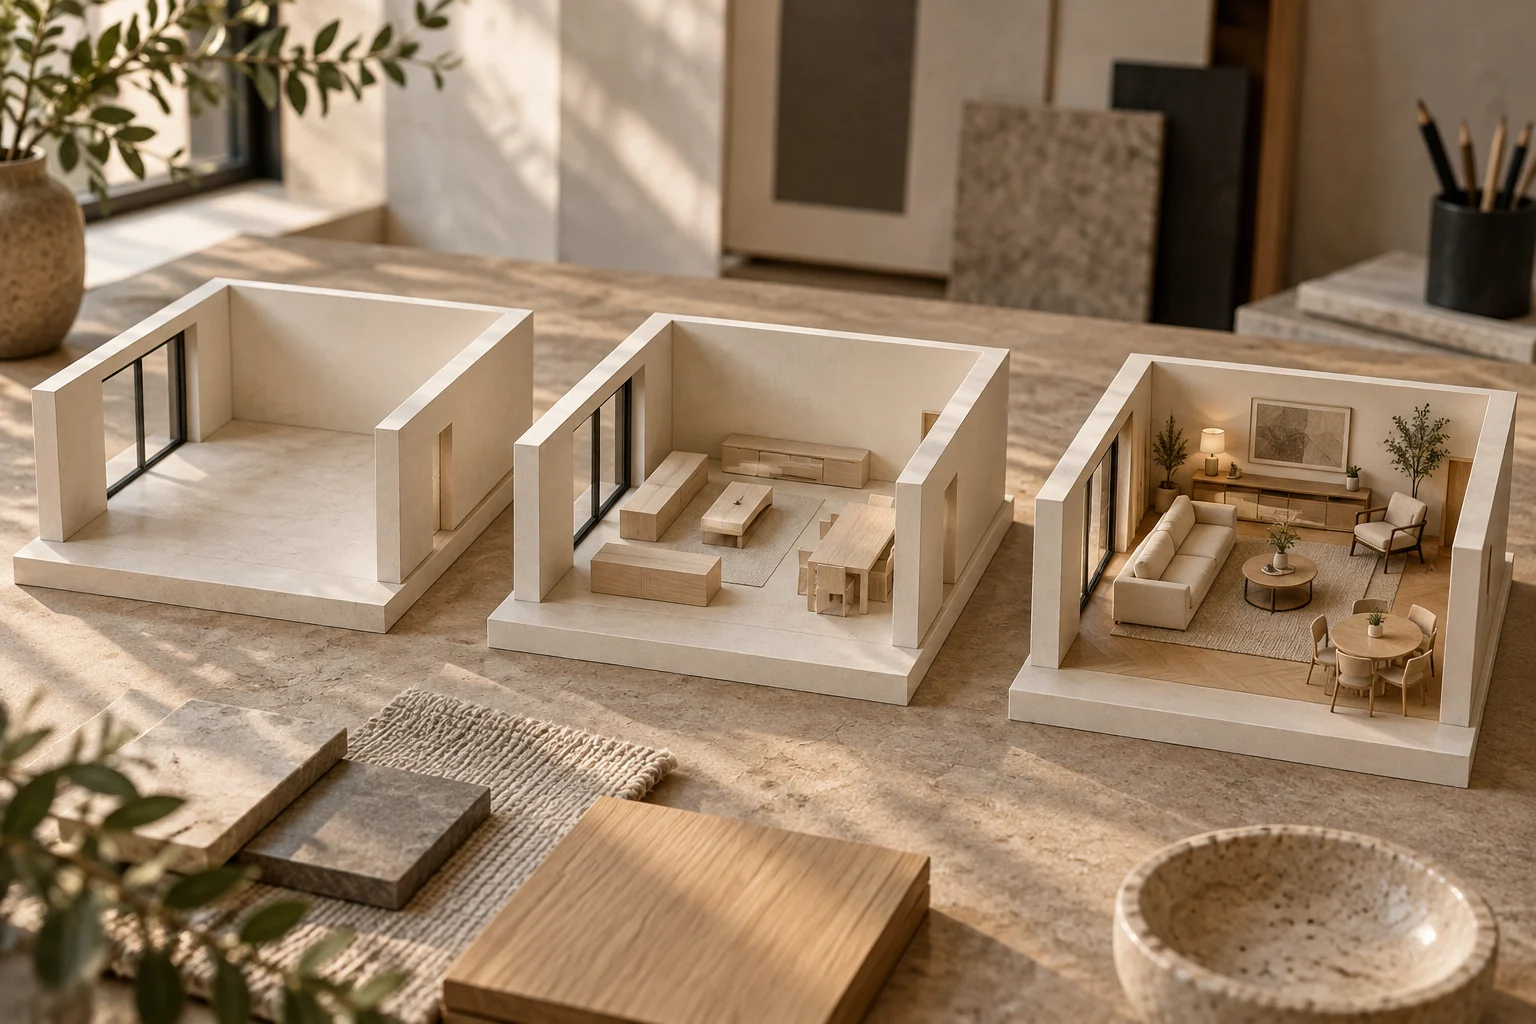
Understand the scope factors behind a rendering proposal: source files, modelling, views, variants, revisions and delivery requirements.
Read article →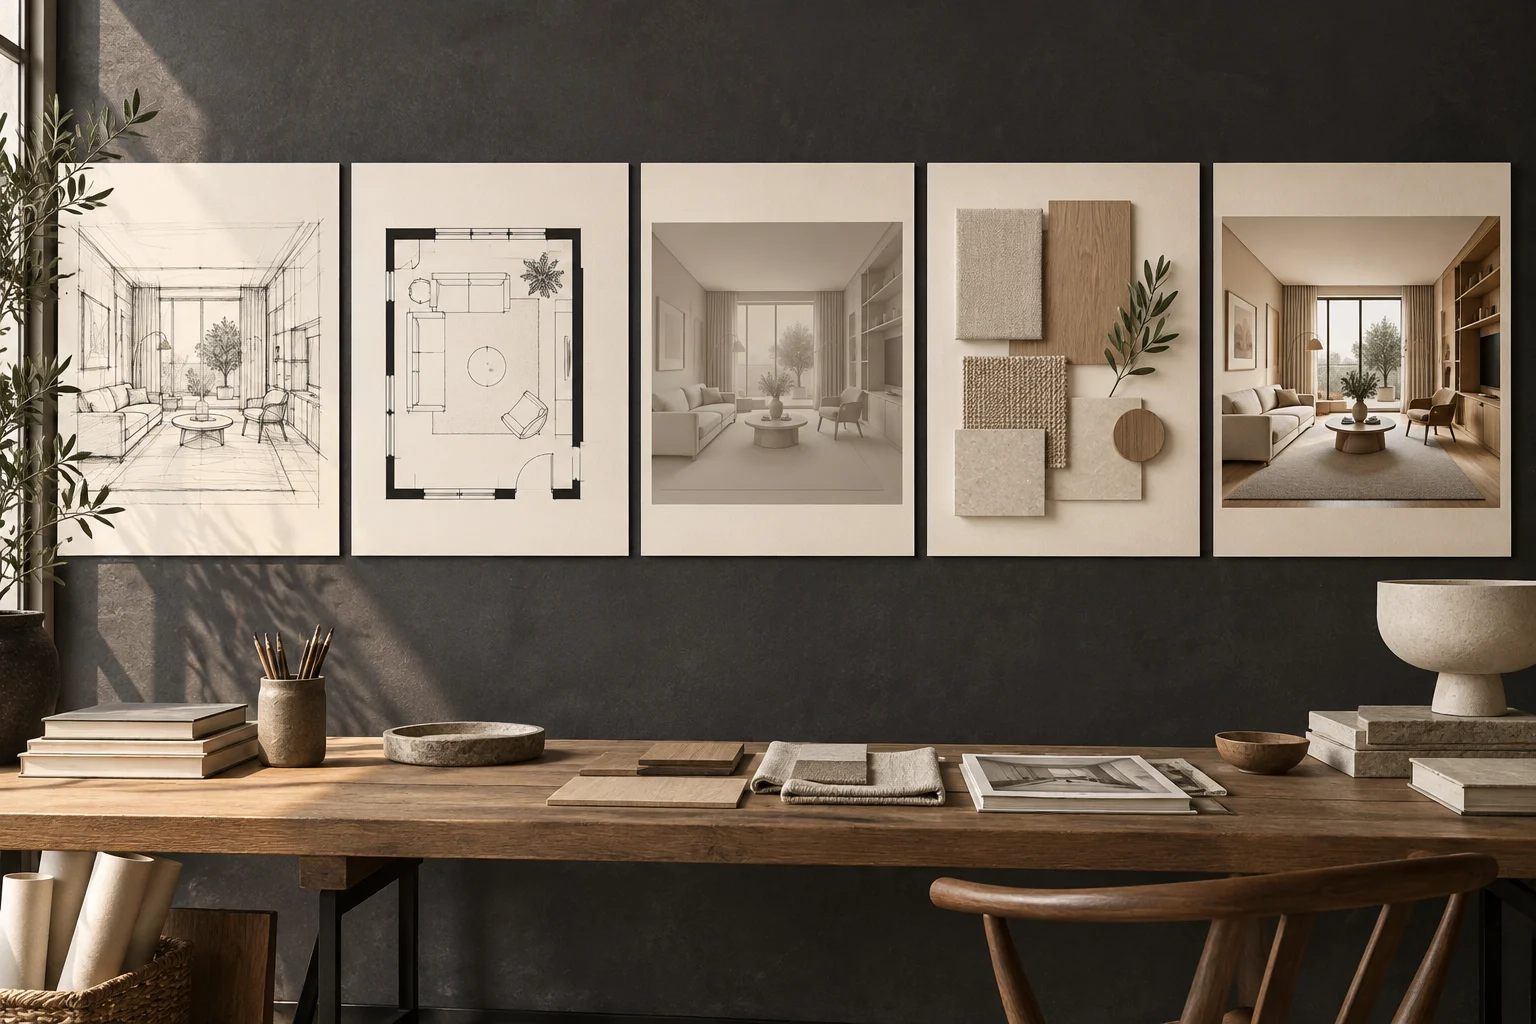
Build a practical visualization schedule with source delivery, camera approval, material review and final checks instead of assuming a universal turnaround.
Read article →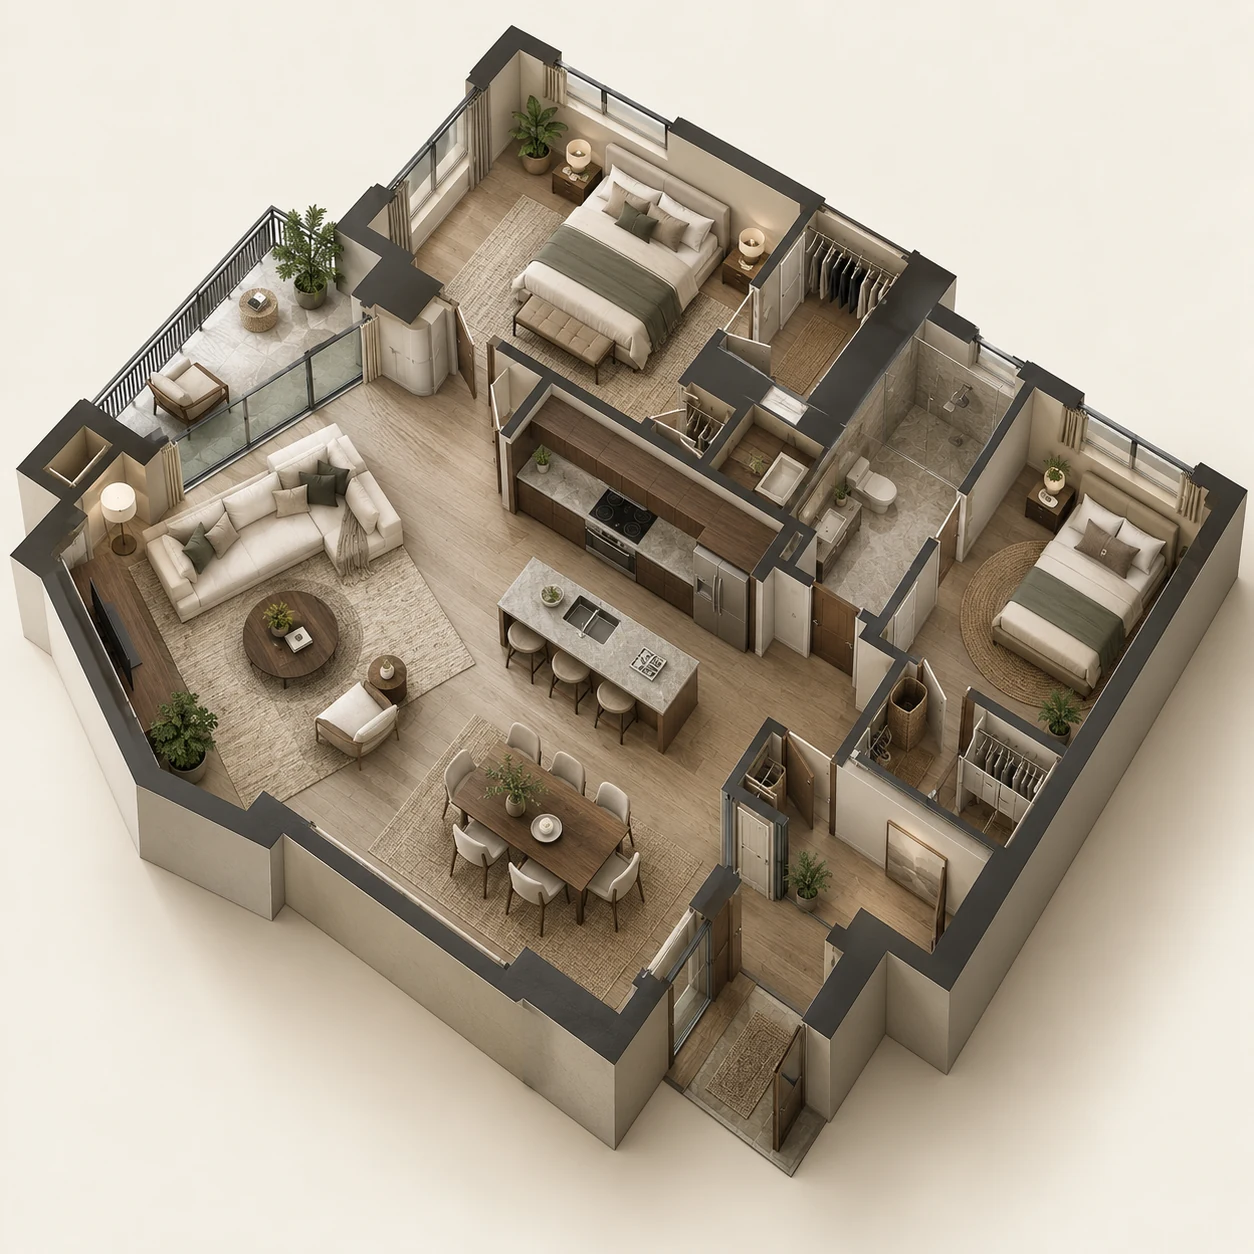
Compare 2D and 3D floor plans, understand their limits and prepare a clear visualization brief for a home renovation or property presentation.
Read article →Compare open-plan kitchen and living layouts with a clear priority list, consistent furniture sizes and views that explain the relationship between zones.
Read article →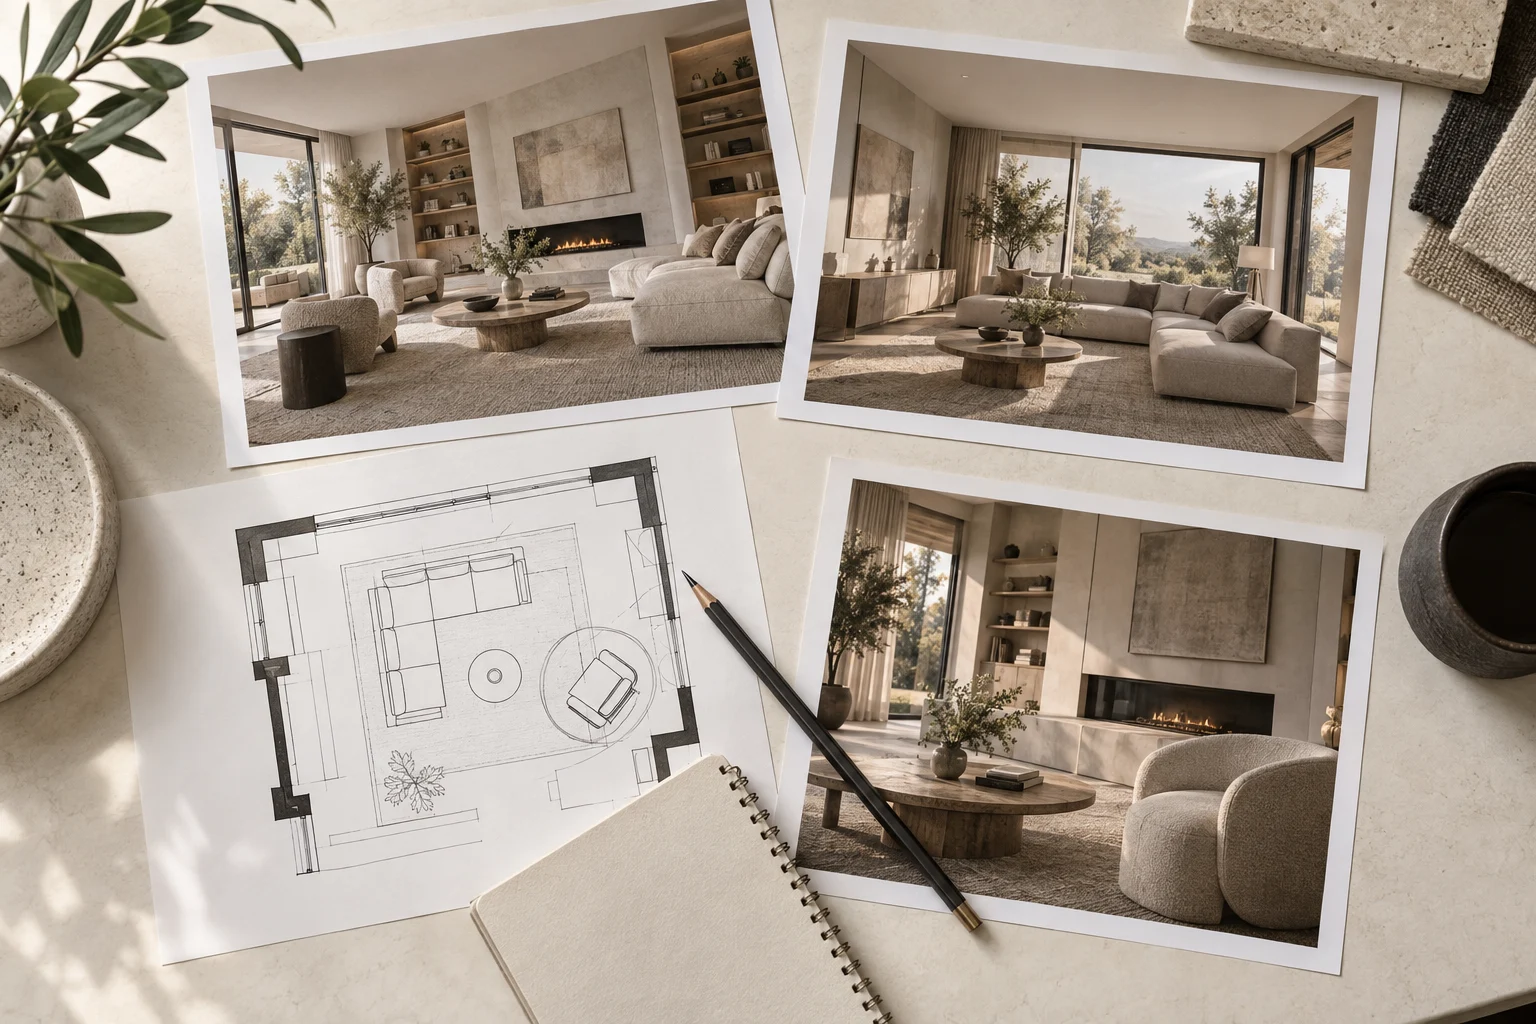
Prepare a clear rendering brief with the purpose, drawings, references, views and approval responsibilities needed for a useful proposal.
Read article →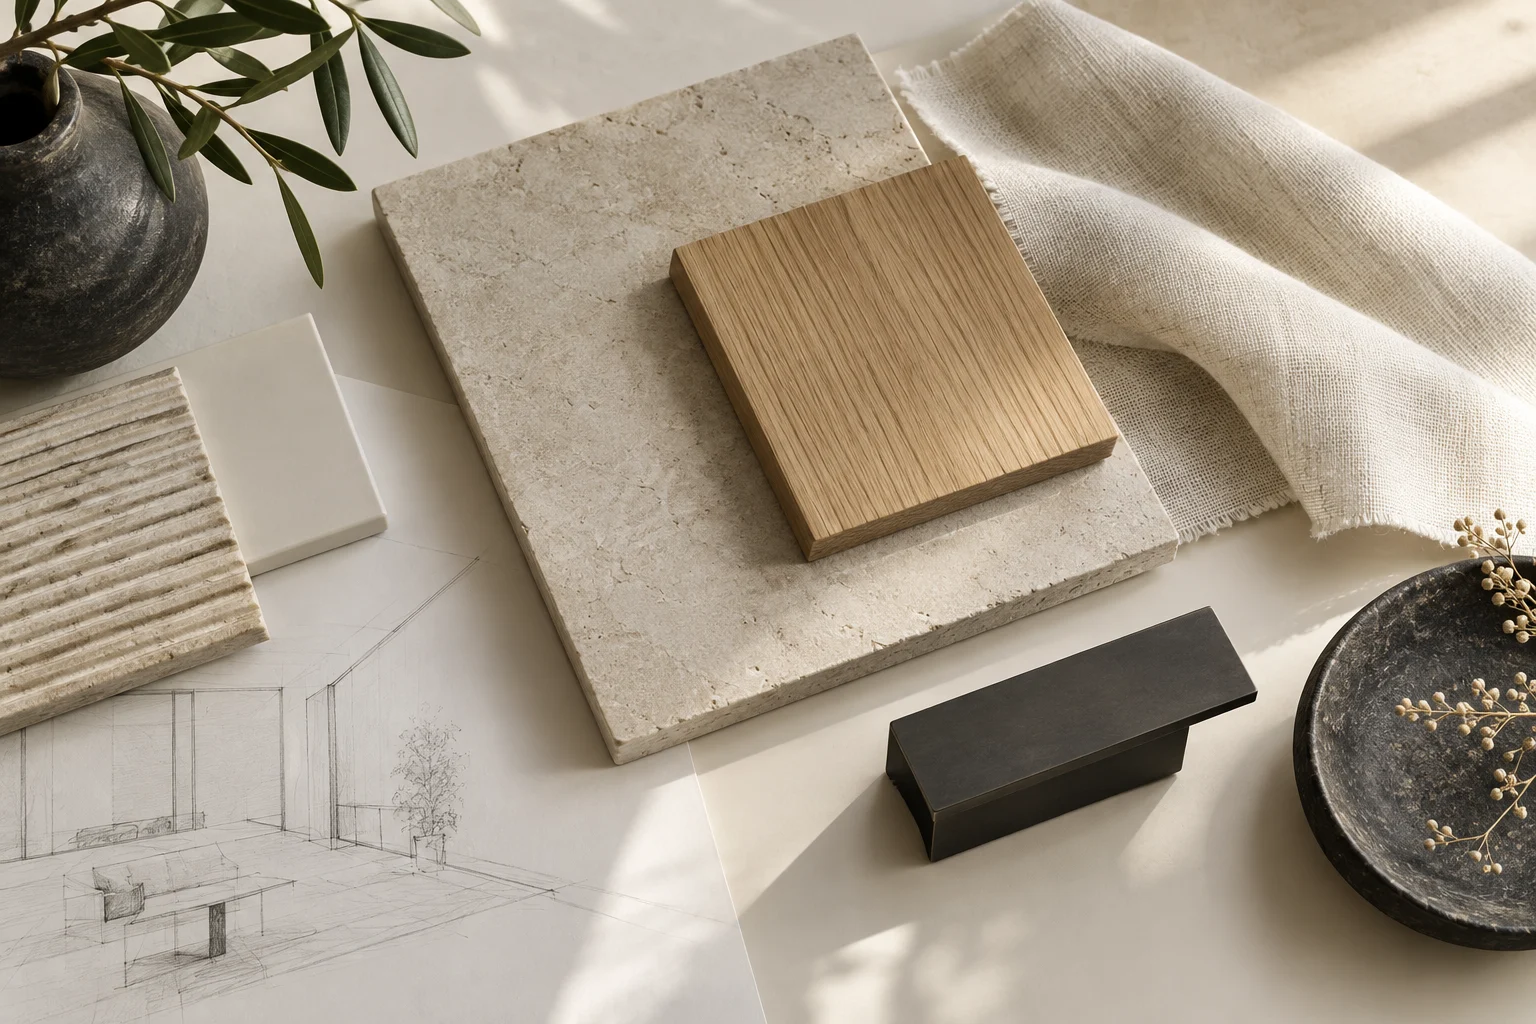
Give clearer references for wood, stone, fabrics and metal finishes by specifying scale, direction, surface character and the intended product.
Read article →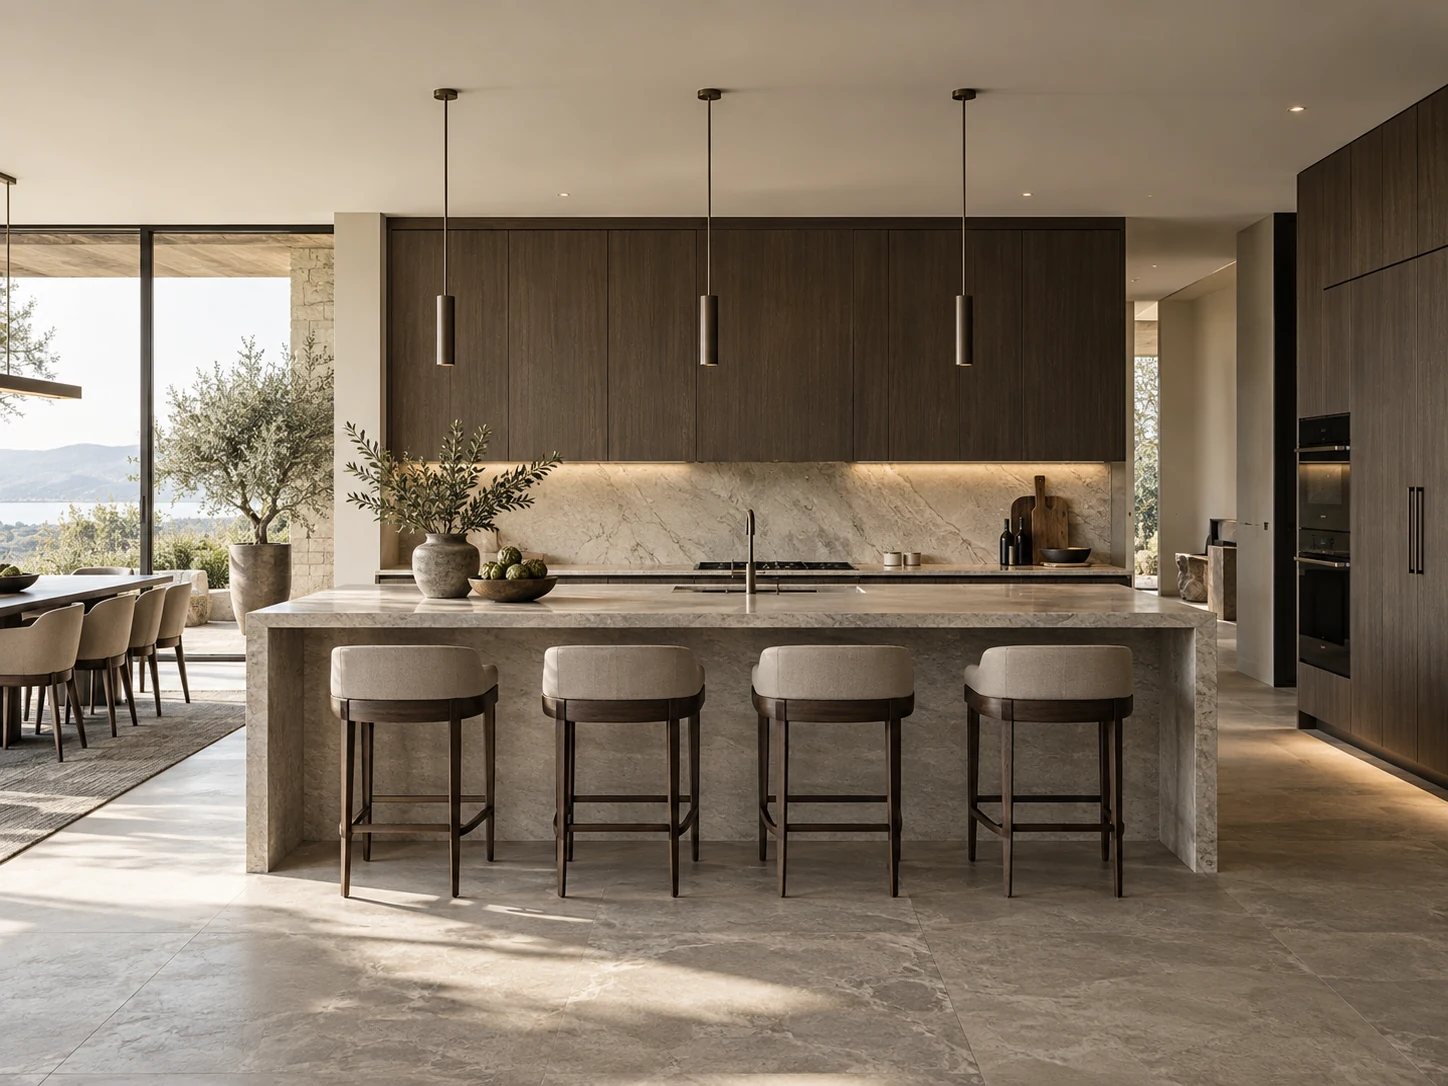
Use kitchen visualization to review appliance positions, storage access and the island before comparing fronts, worktops and decorative details.
Read article →
Review tile direction, furniture, mirrors and visible junctions in a bathroom render while keeping technical installation checks separate.
Read article →
Plan bedroom storage views around wardrobe access, retained furniture and the relationship between bed, windows and circulation.
Read article →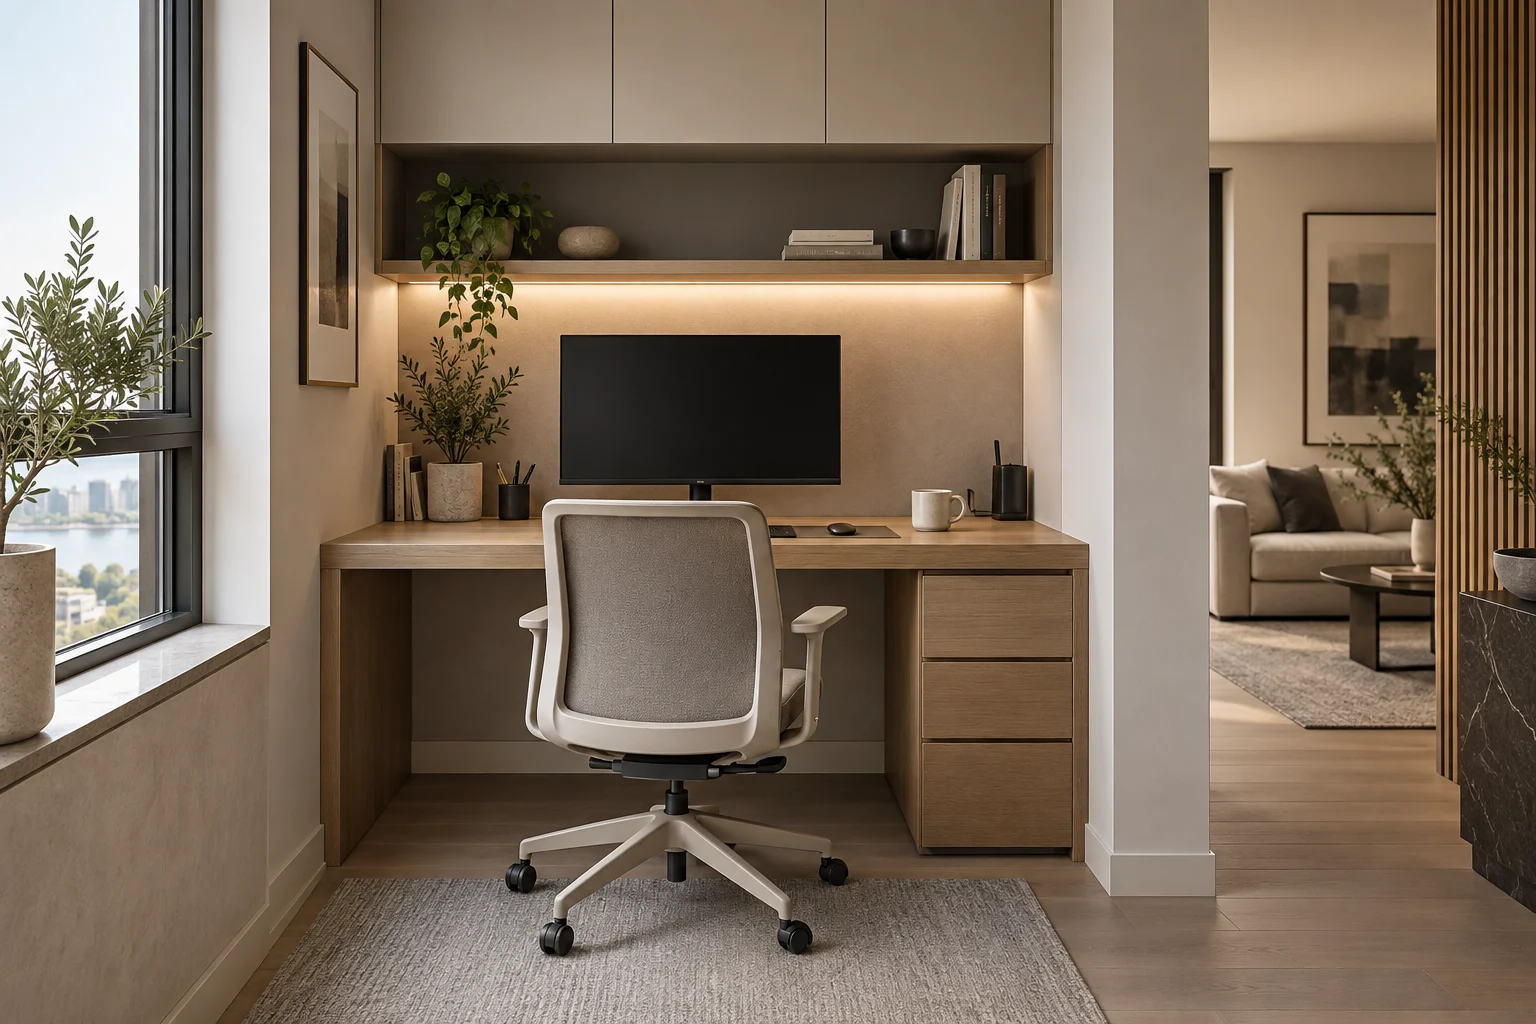
Prepare a home office visualization around equipment, video calls, daylight and storage instead of choosing a desk from appearance alone.
Read article →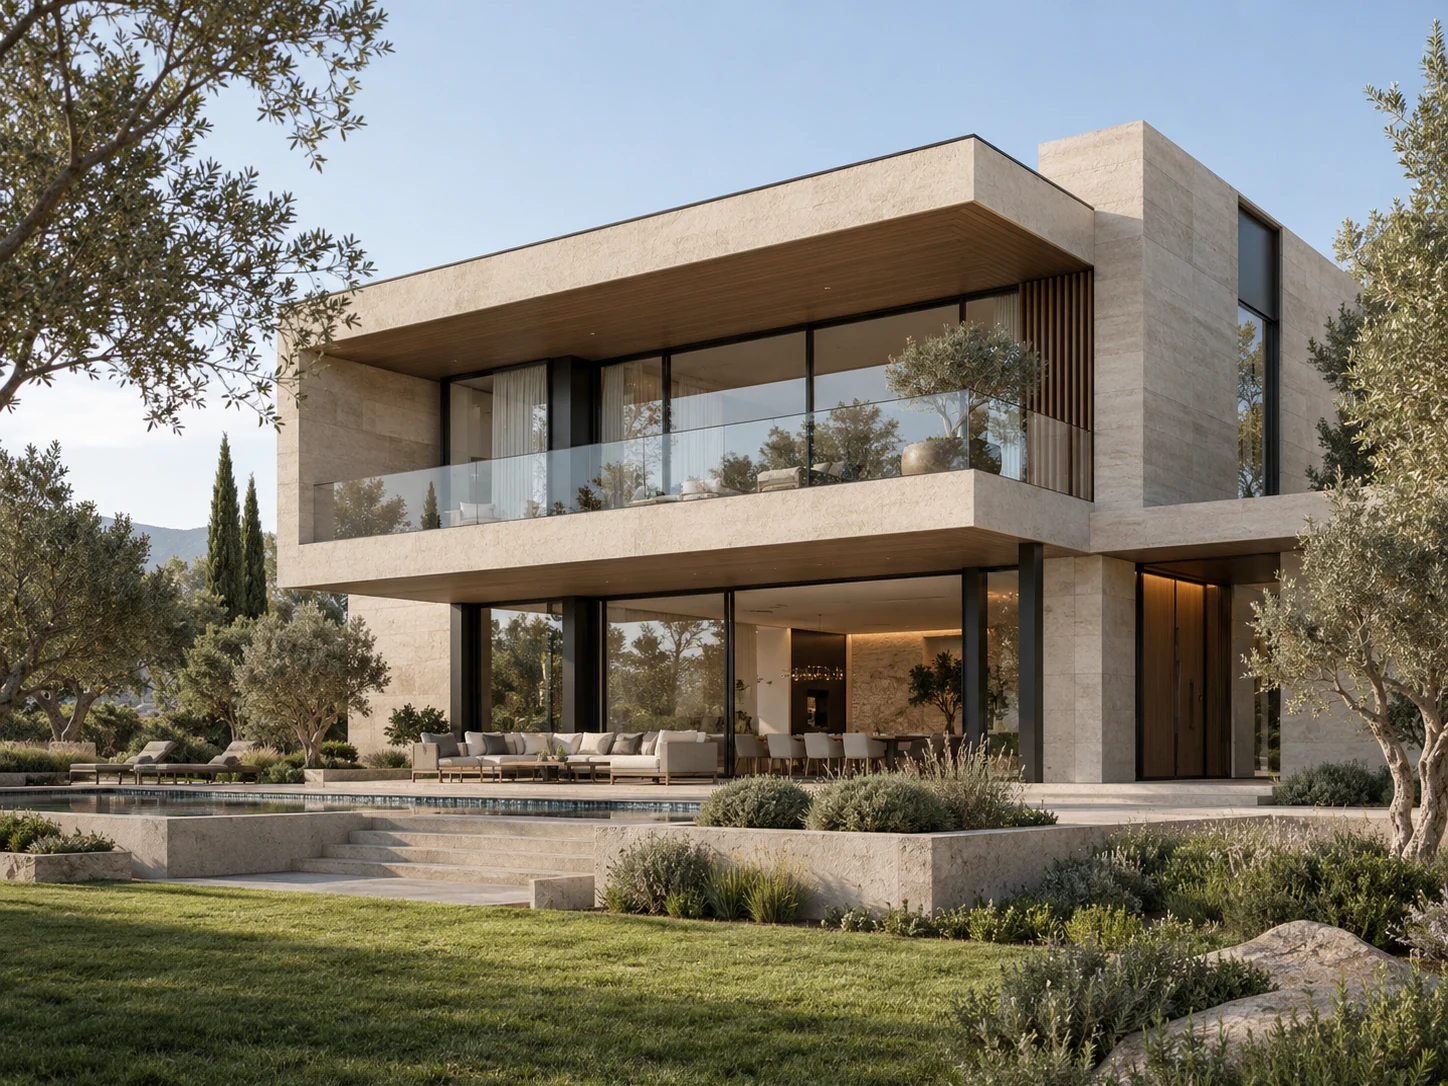
Prepare site context for exterior visualization with ground levels, neighbouring features, access and clearly identified illustrative assumptions.
Read article →
Specify proposed planting, terraces and outdoor furniture without allowing mature vegetation or decorative elements to misrepresent the project.
Read article →