Before-and-after renovation images: make the comparison clear
Create readable renovation comparisons with matched viewpoints, labelled proposed changes and a clear distinction between photographs and visualization.
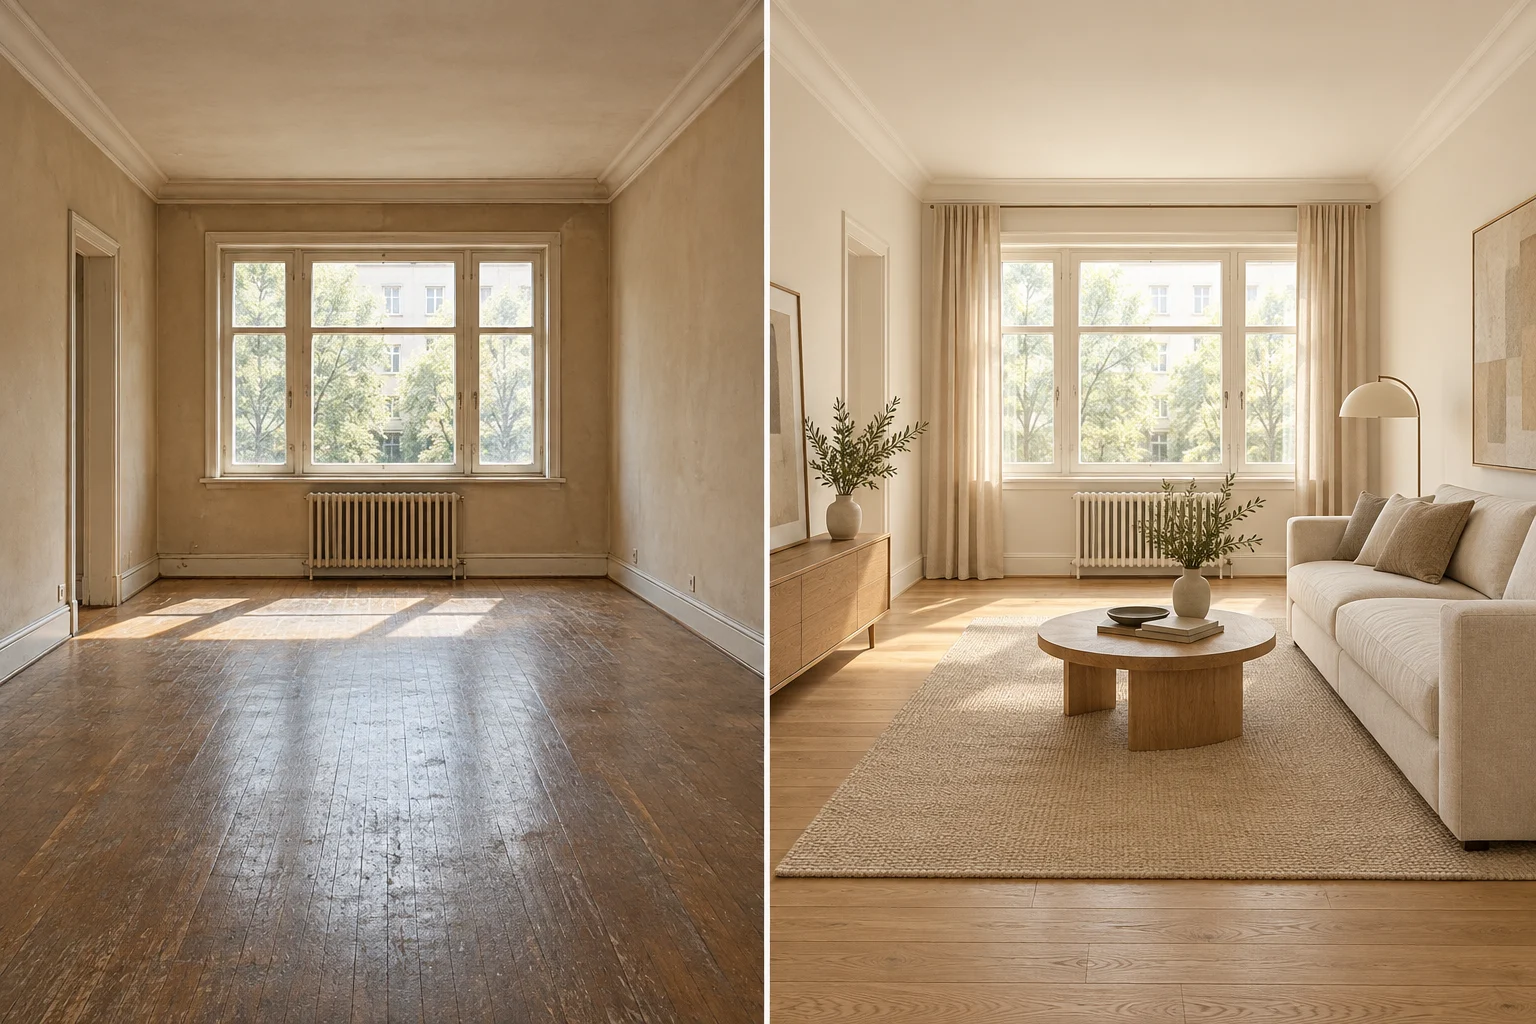
A before-and-after comparison is useful when the viewer can identify exactly what changes. If the camera, crop and lighting all change, the effect of the design becomes harder to judge.
Match the viewpoint
Provide the original photograph at full available resolution and identify its approximate position on the plan. Describe any known lens or crop information. Matching perspective is easier when the source image includes visible room edges and sufficient context.
Label the proposed work
List the elements retained, removed and added. Identify unconfirmed changes separately. If the “after” image is a proposed visualization, label it that way wherever it is published. Do not imply that the works have already been completed.
Review the comparison together
Check window positions, ceiling heights and retained furniture across both images. Decide whether the purpose is to compare layout, materials or overall atmosphere; keep unrelated changes limited. A concept image does not confirm permission or construction feasibility. Send Projects3ds the existing photo, current plan and a marked-up change list so the comparison can communicate a specific proposal.